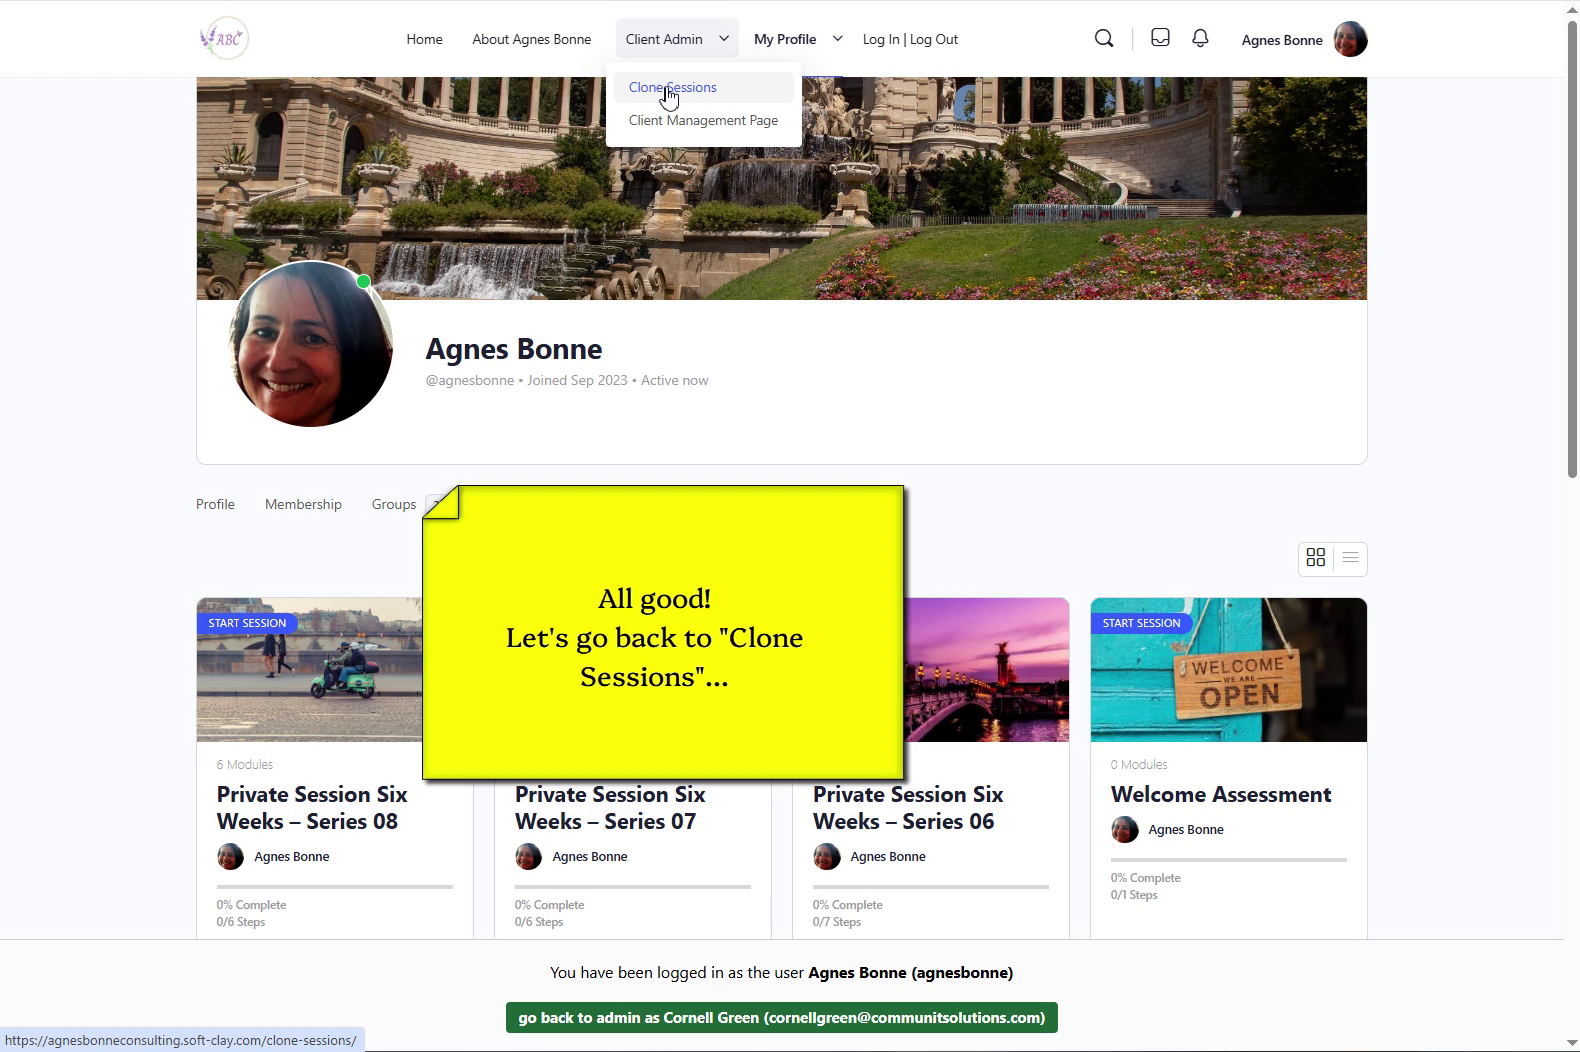
The Series has been cloned and renamed – now, you have to rename the Sessions of the Series
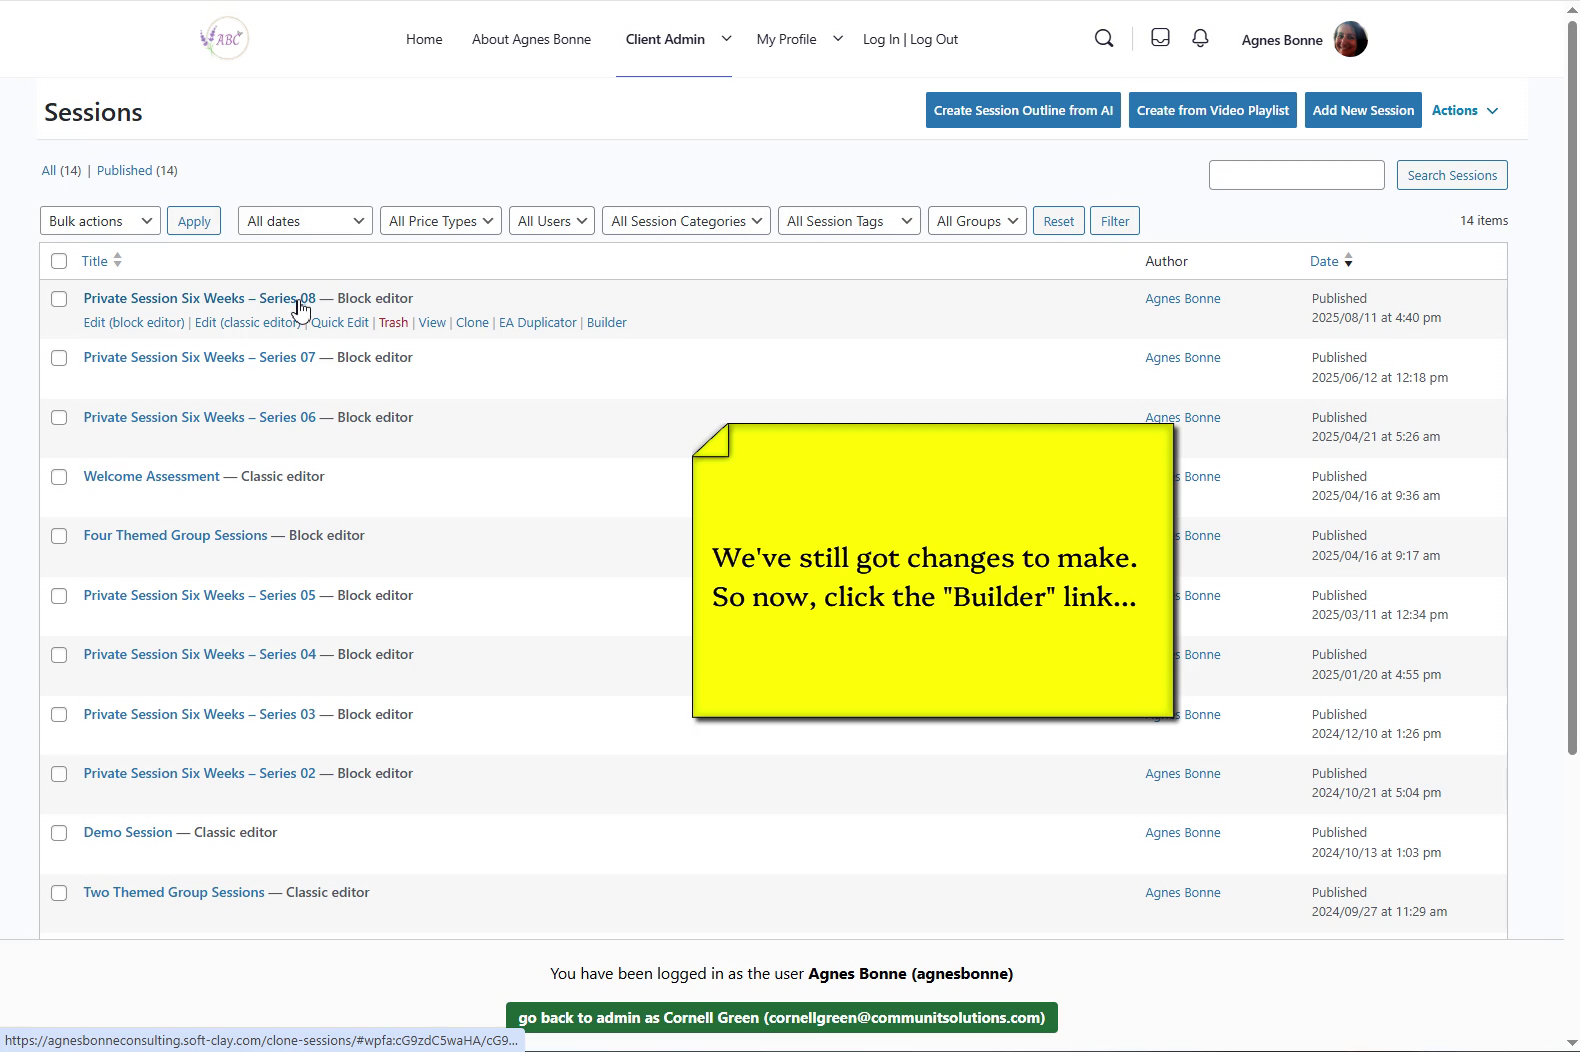
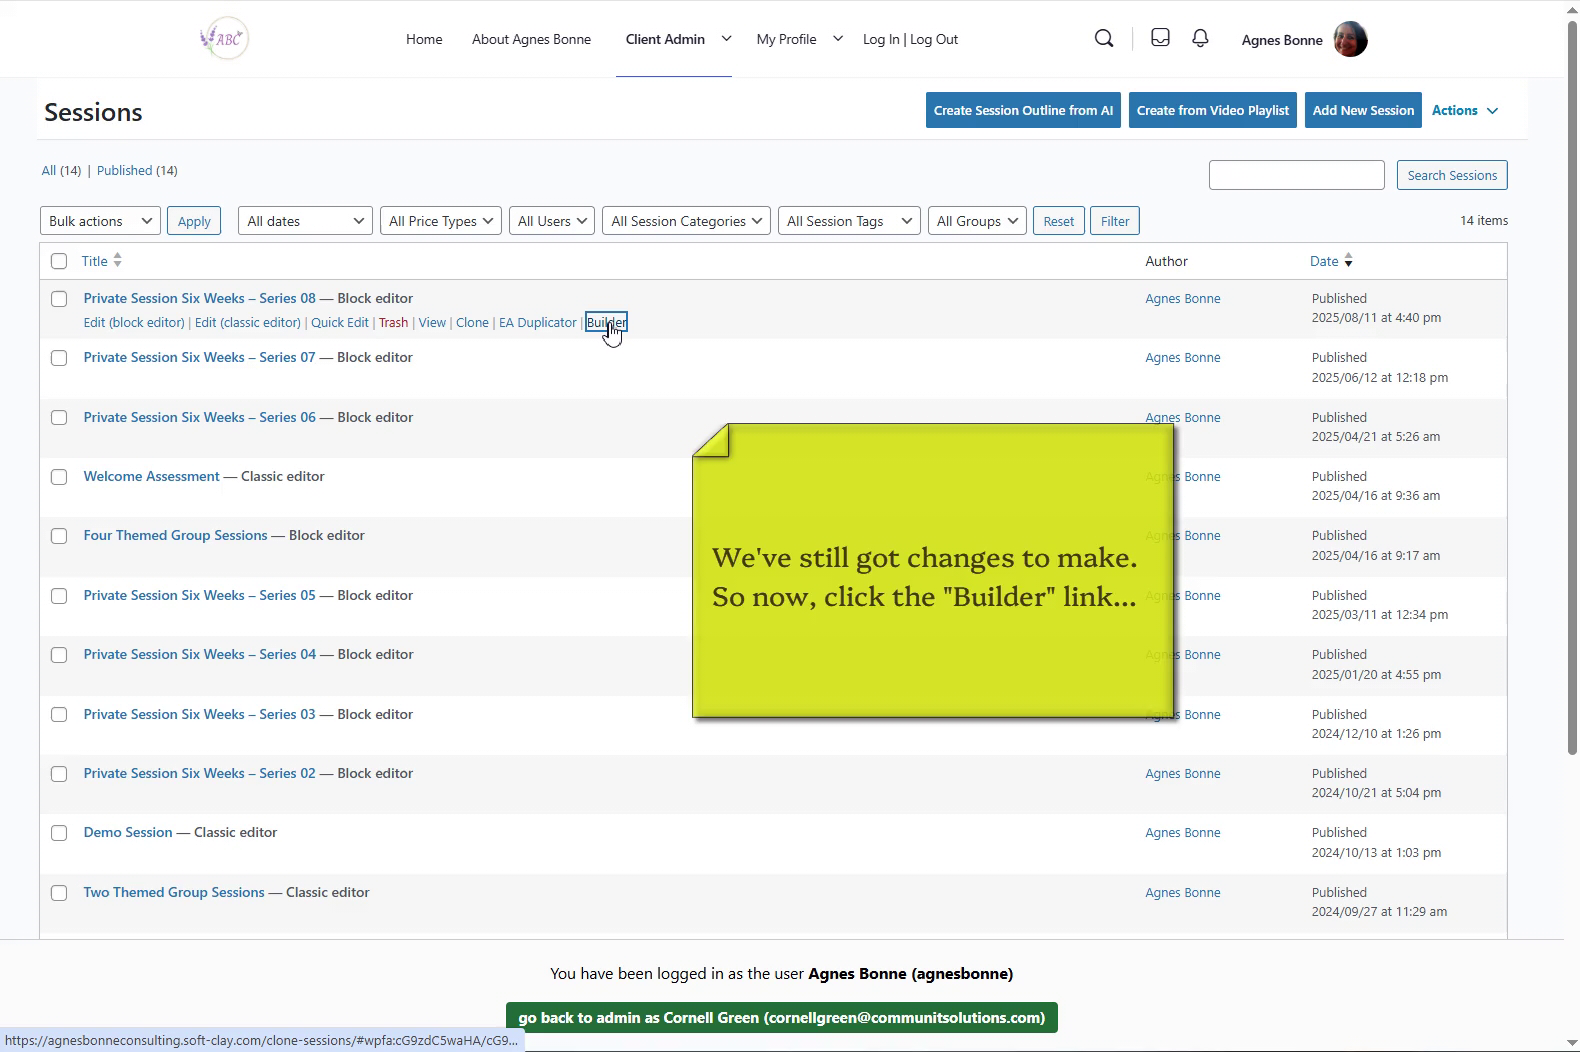
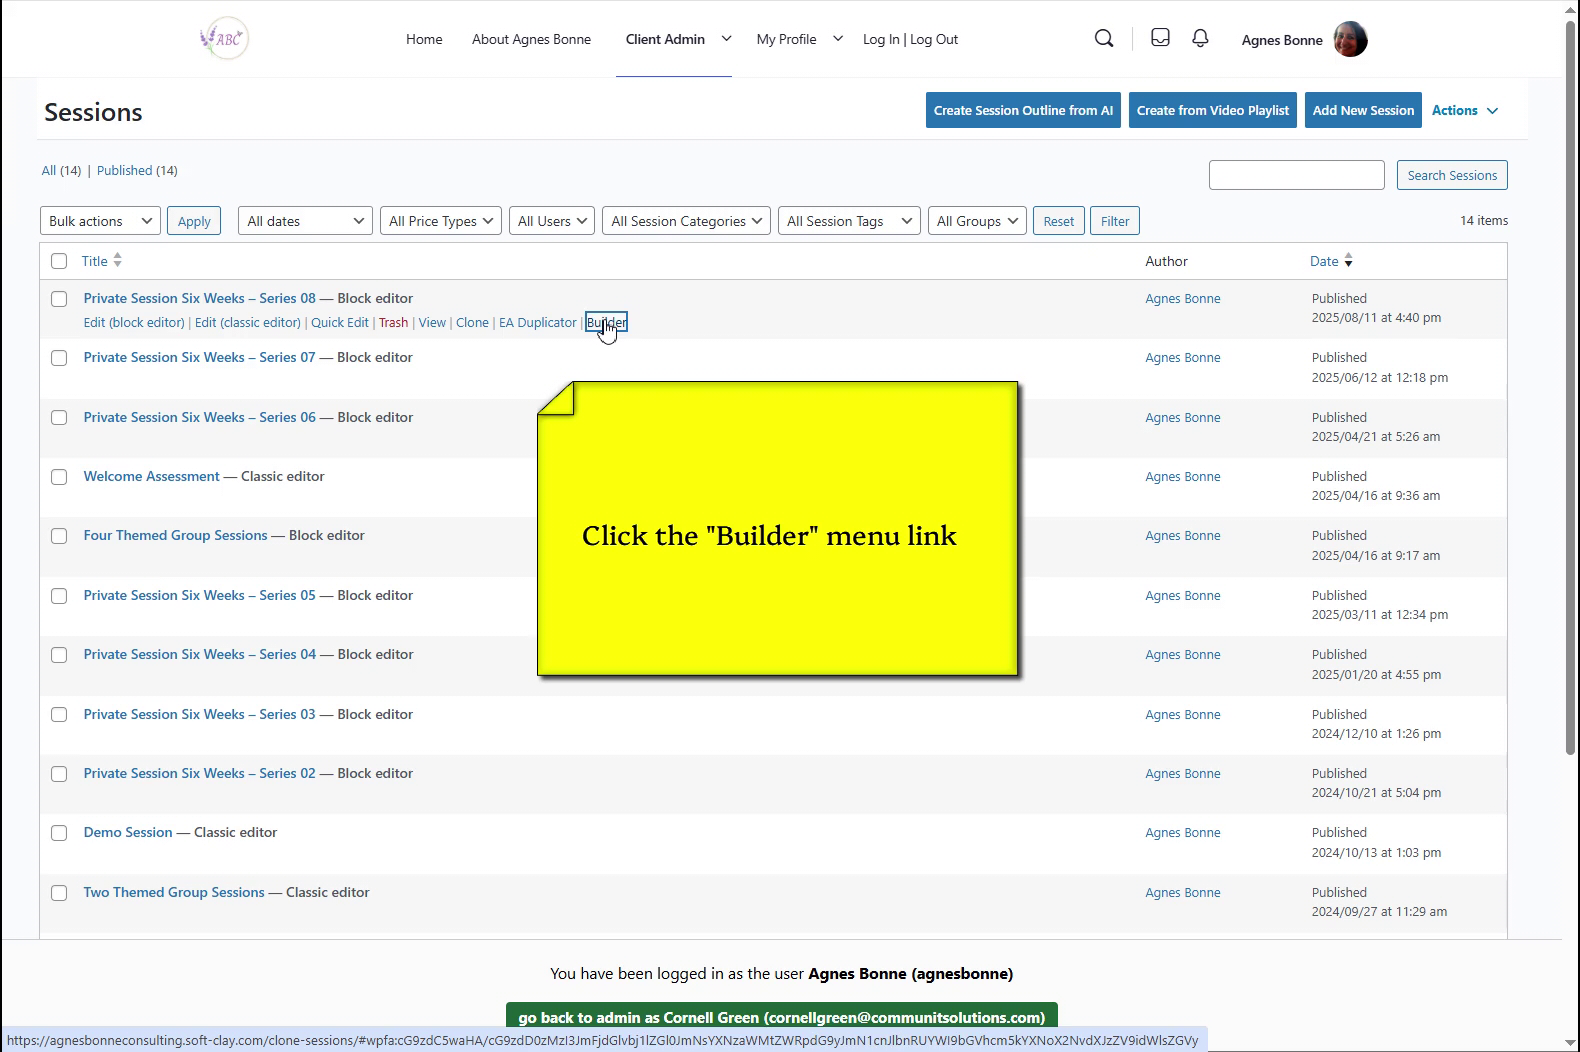
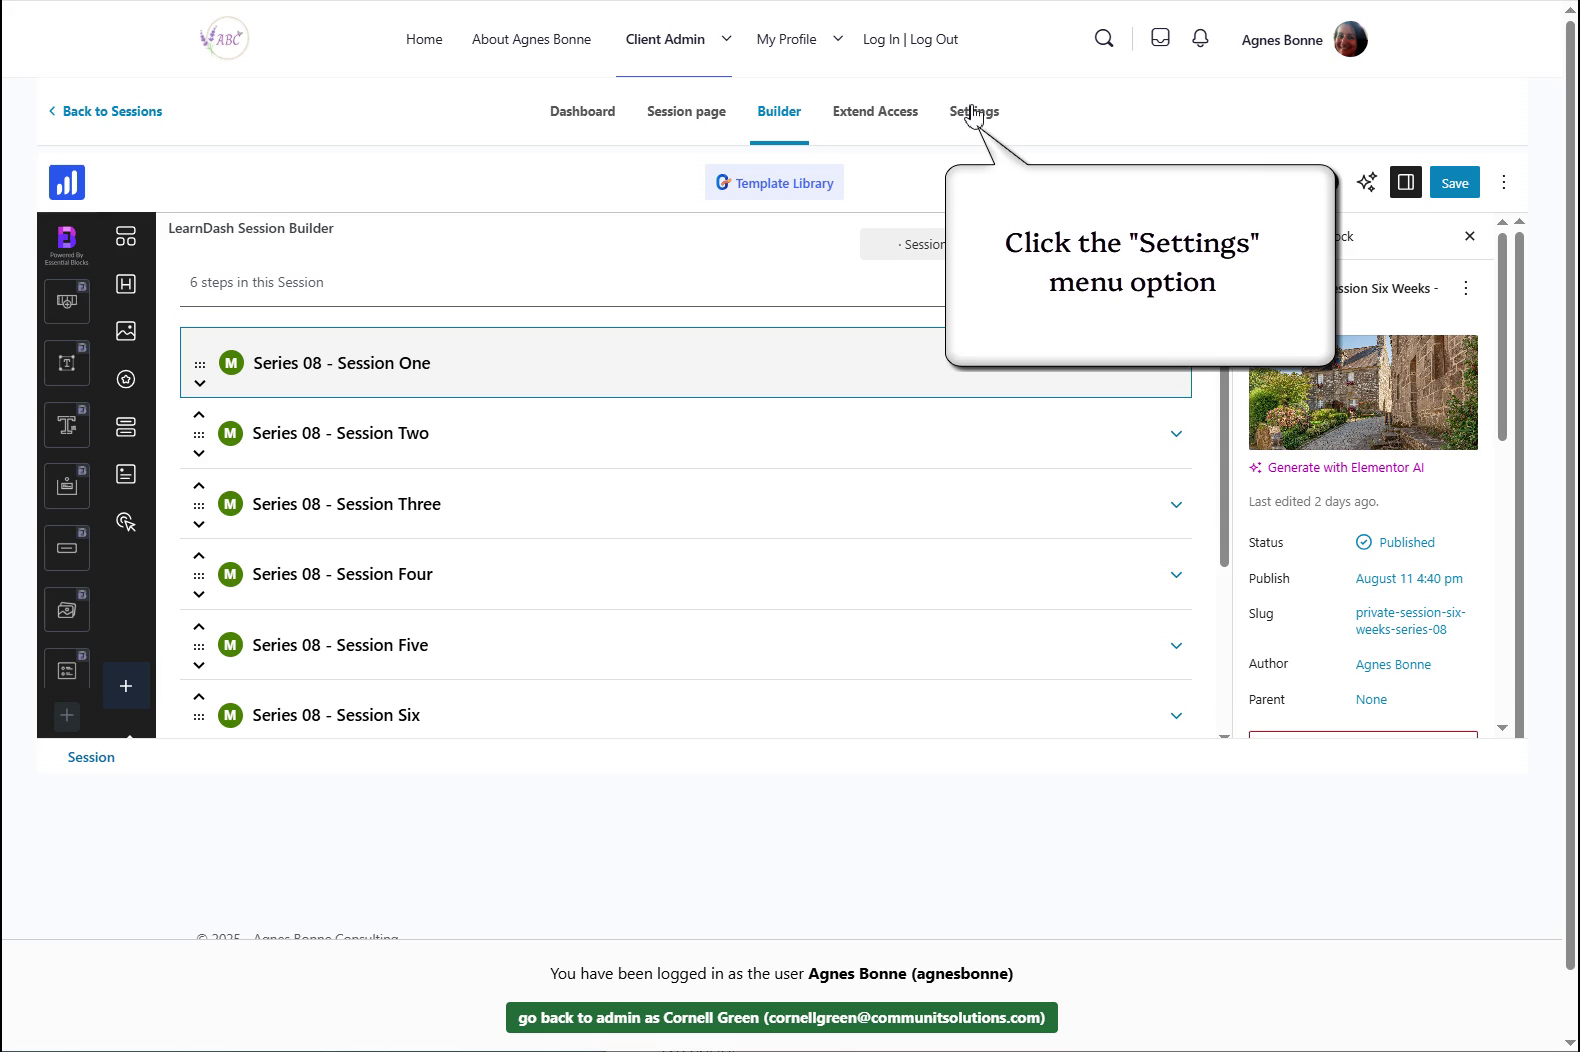
Click the “Builder” link beneath the Series name
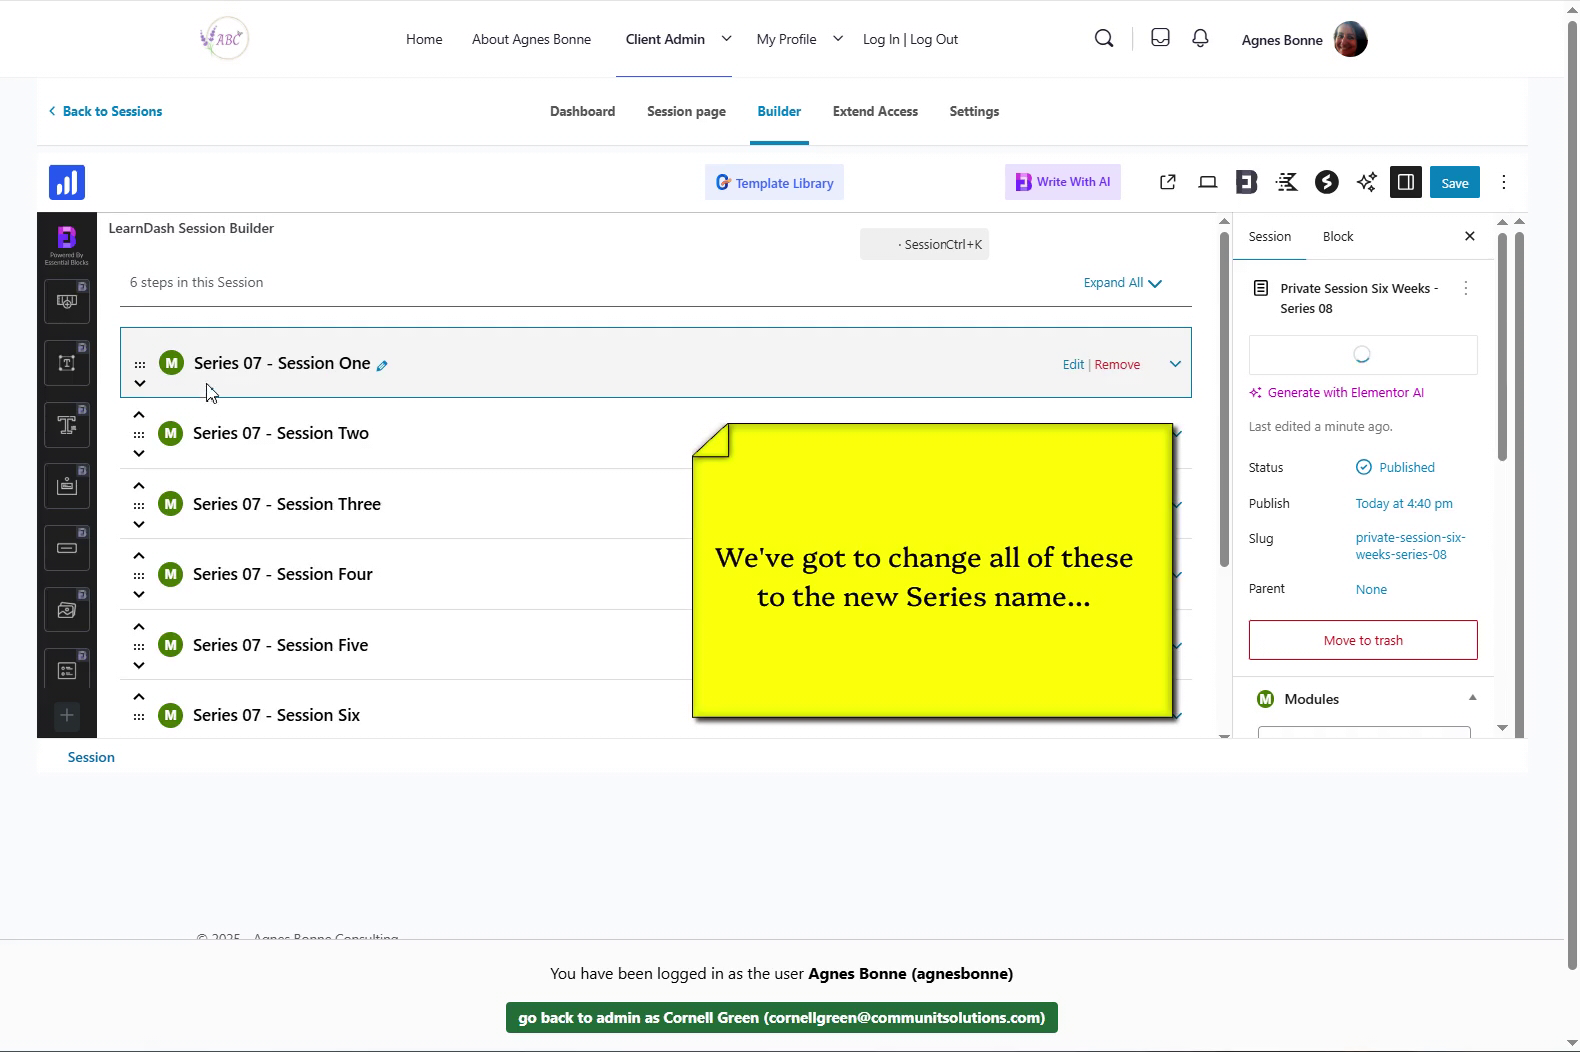
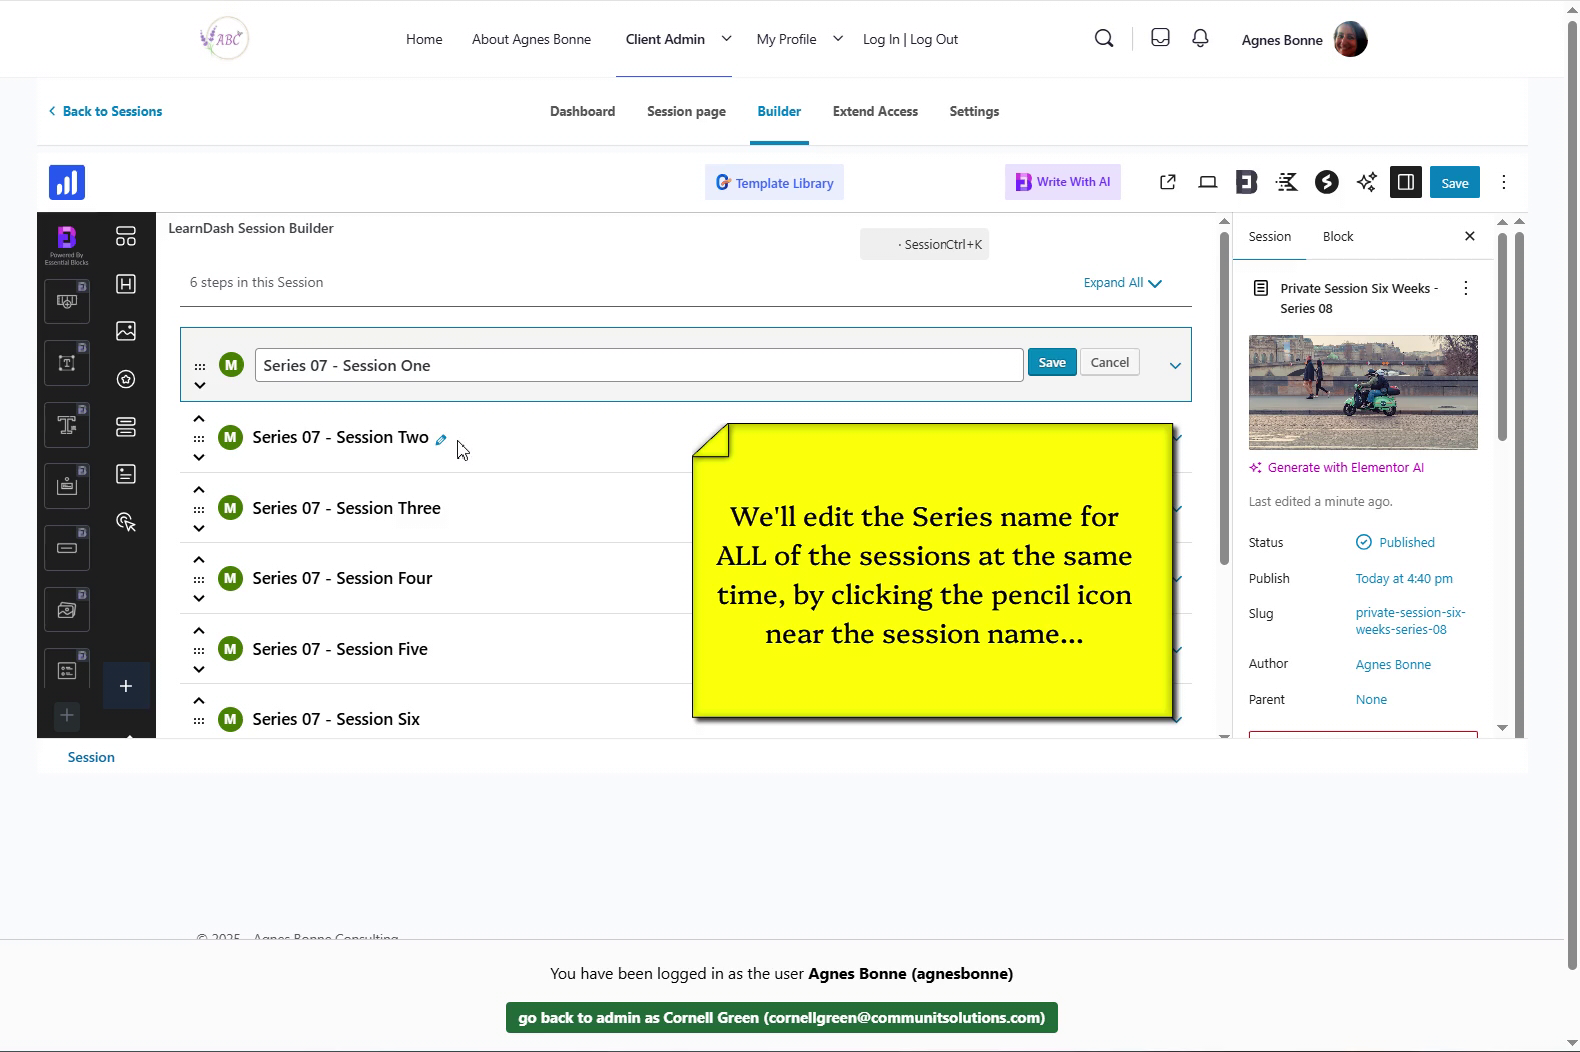
REMEMBER: the Sessions will have the name of the old Series’ name – thus, you will have to rename each Session’s name. Click the “Edit” link next to “Remove“
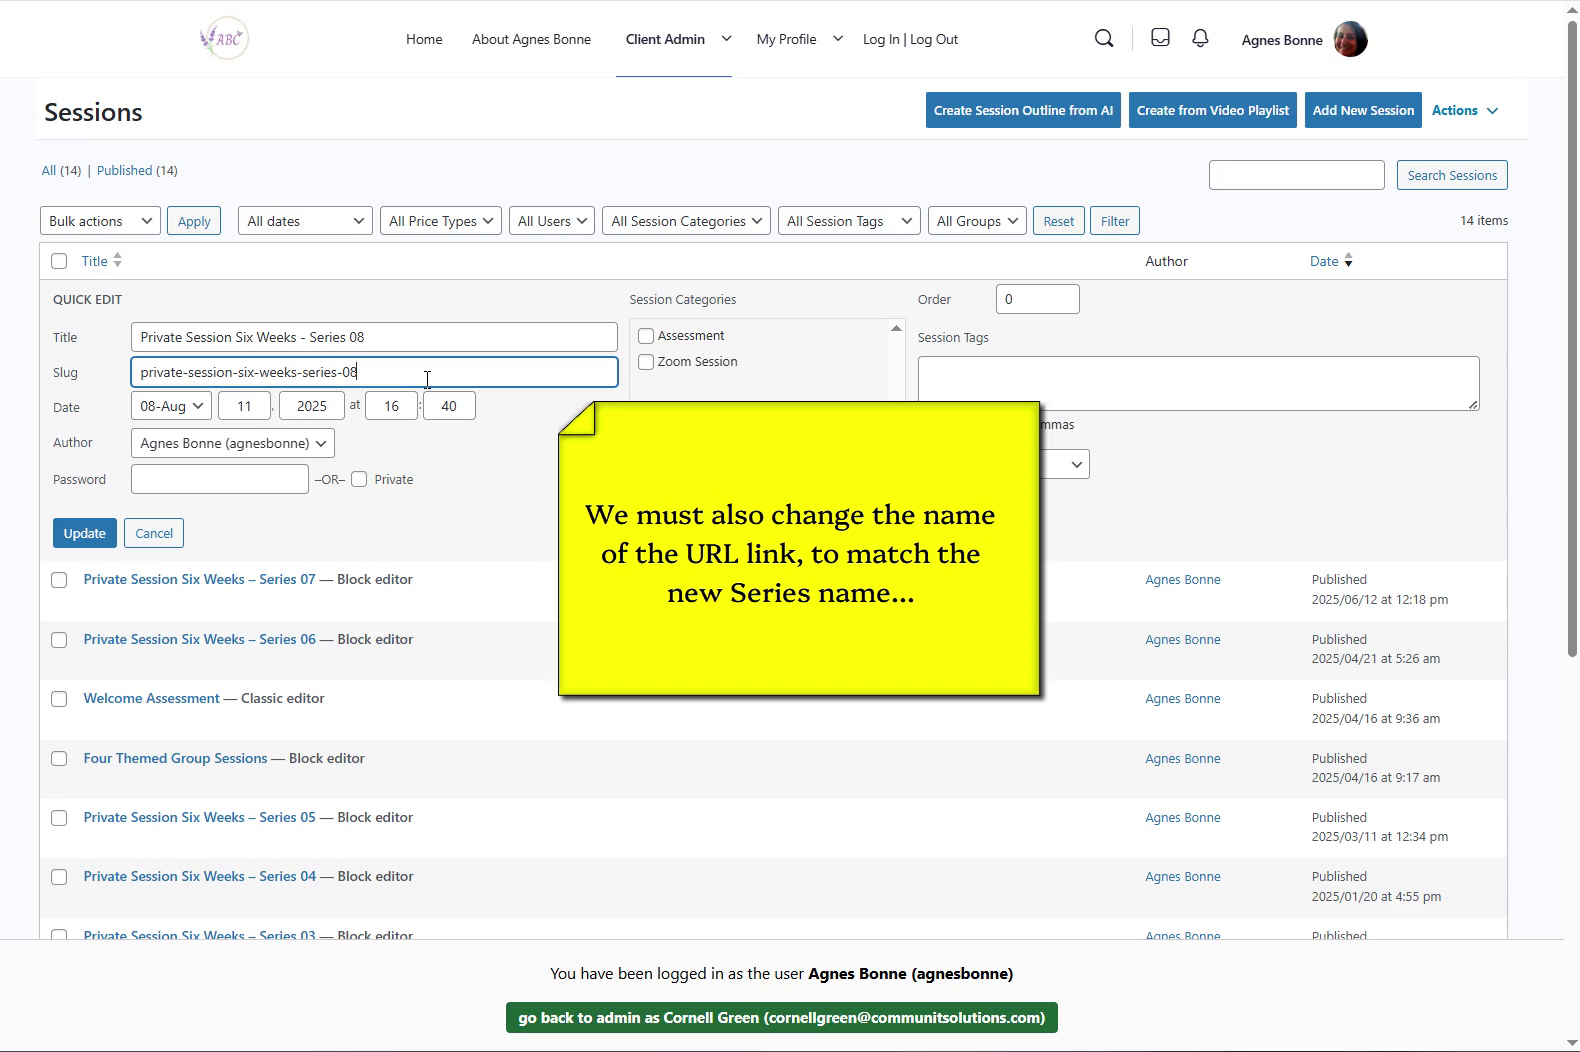
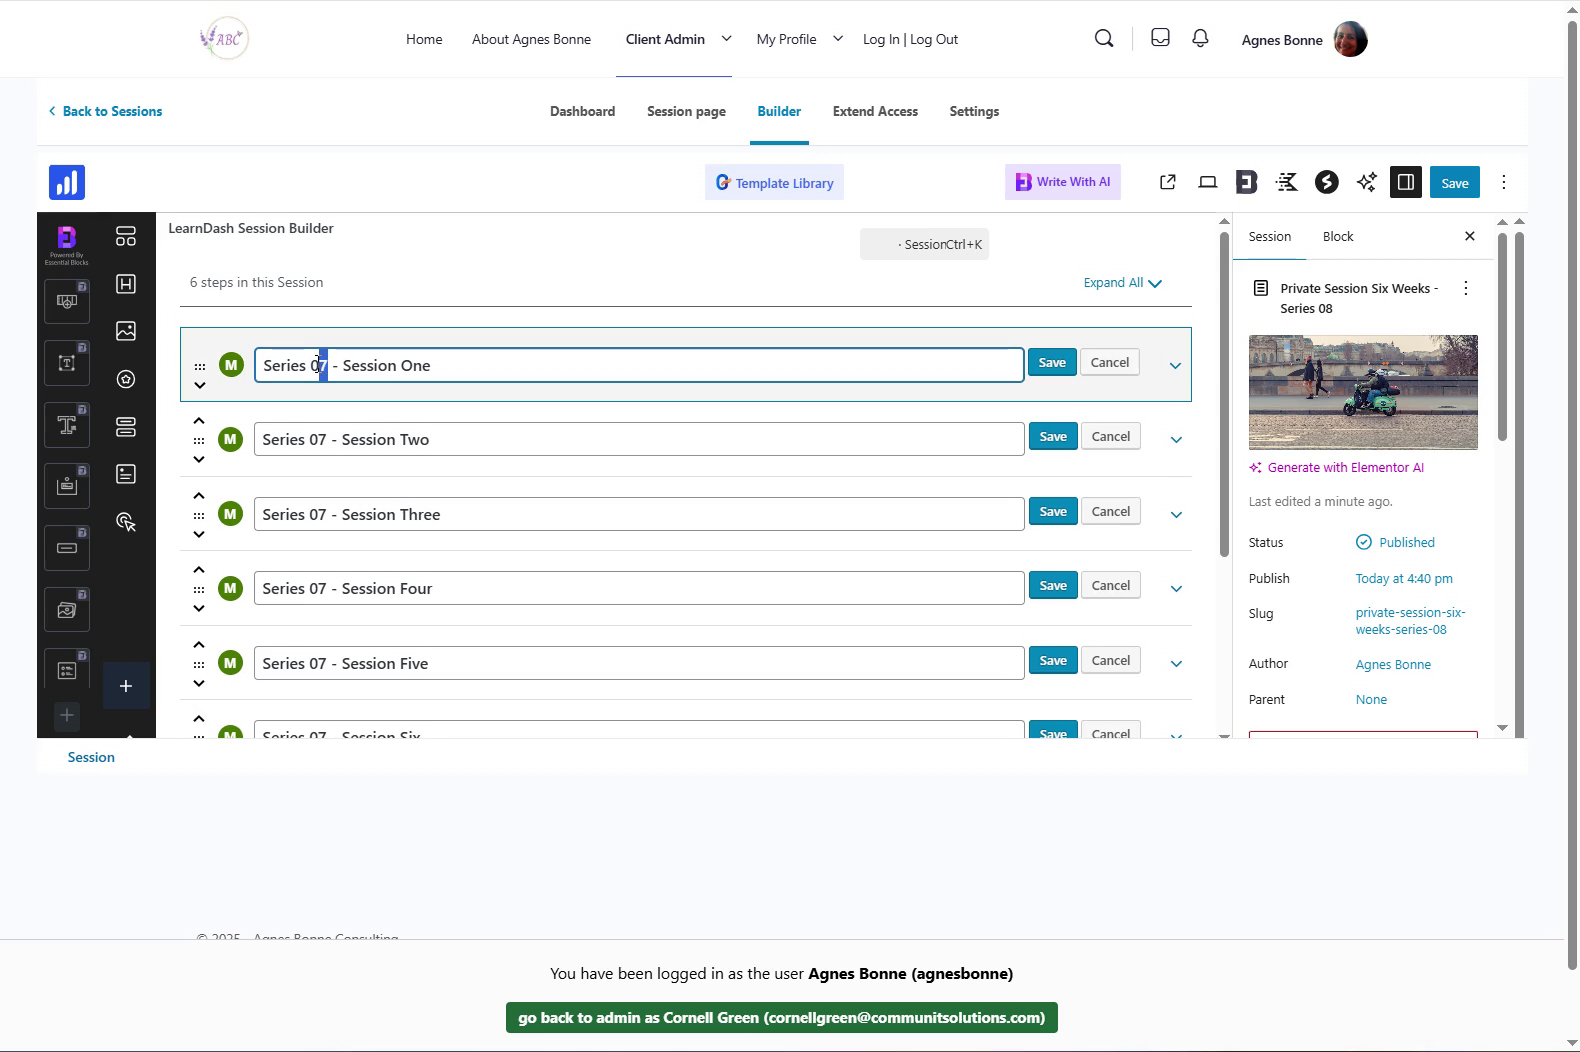
The Session name edit window appears – now, you can change the *Series* name from the old Series to the new Series you are cloning
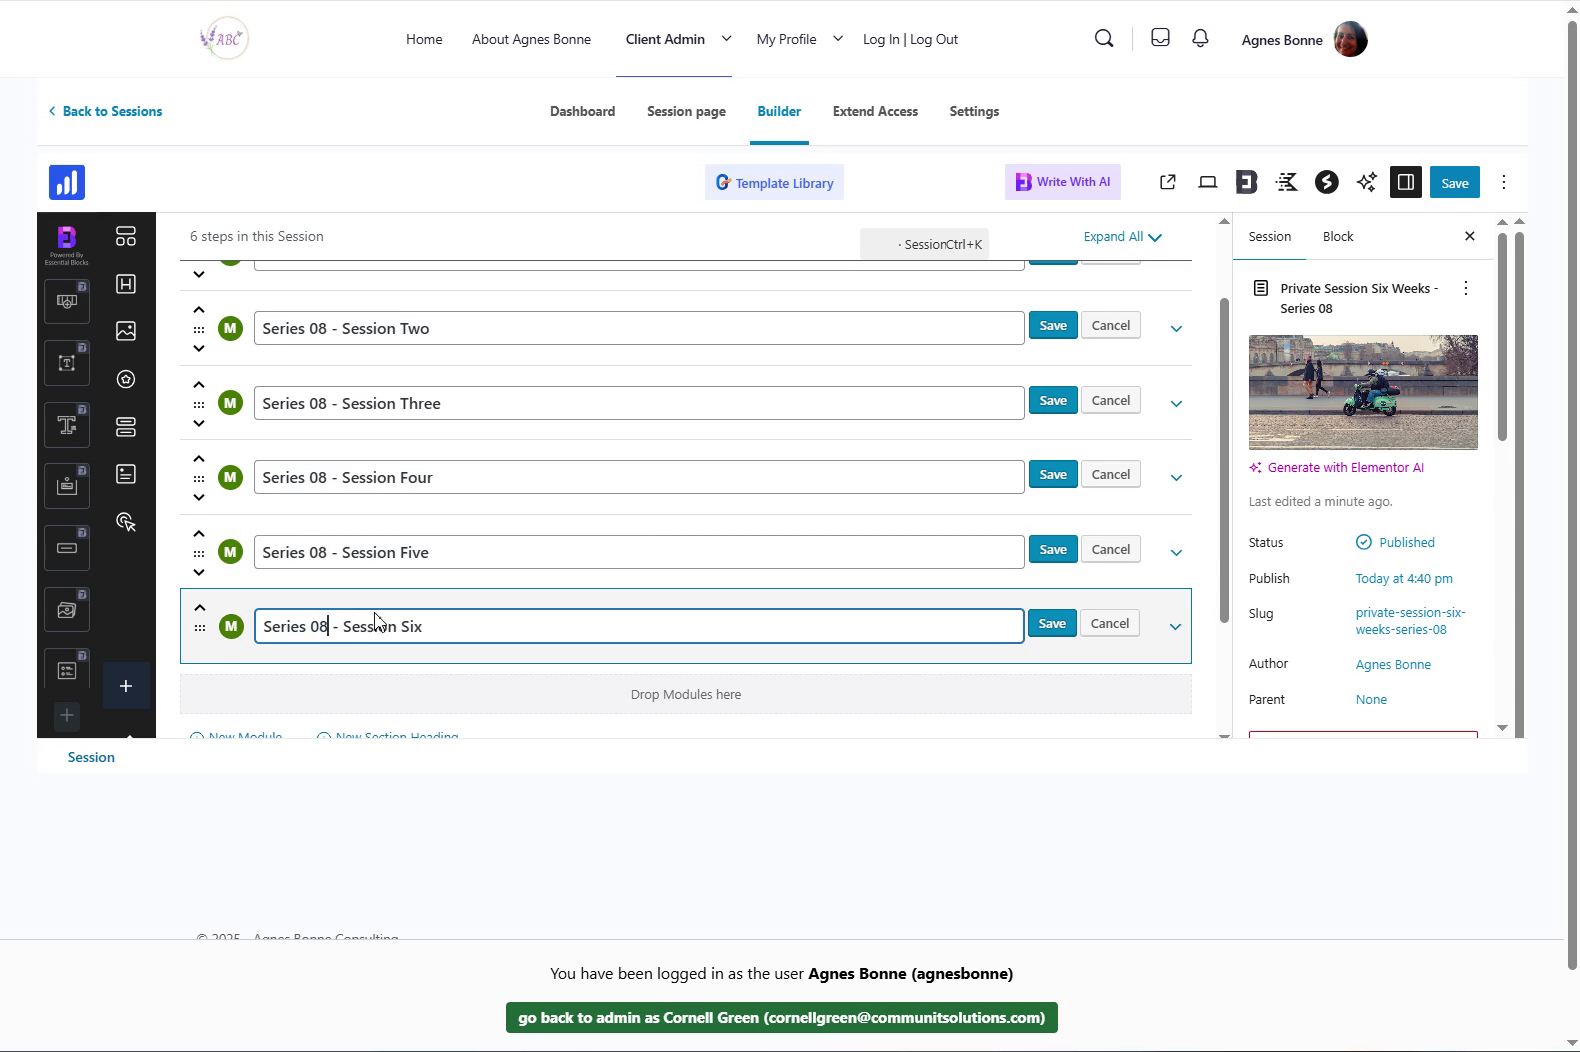
Change the Series number for each Session
…this is the only change you will have to make here.
It’s easier to open the “Edit” window for ALL of the Sessions at the same time…
…this way, you can make sure you have updated ALL of them before saving the updated Series
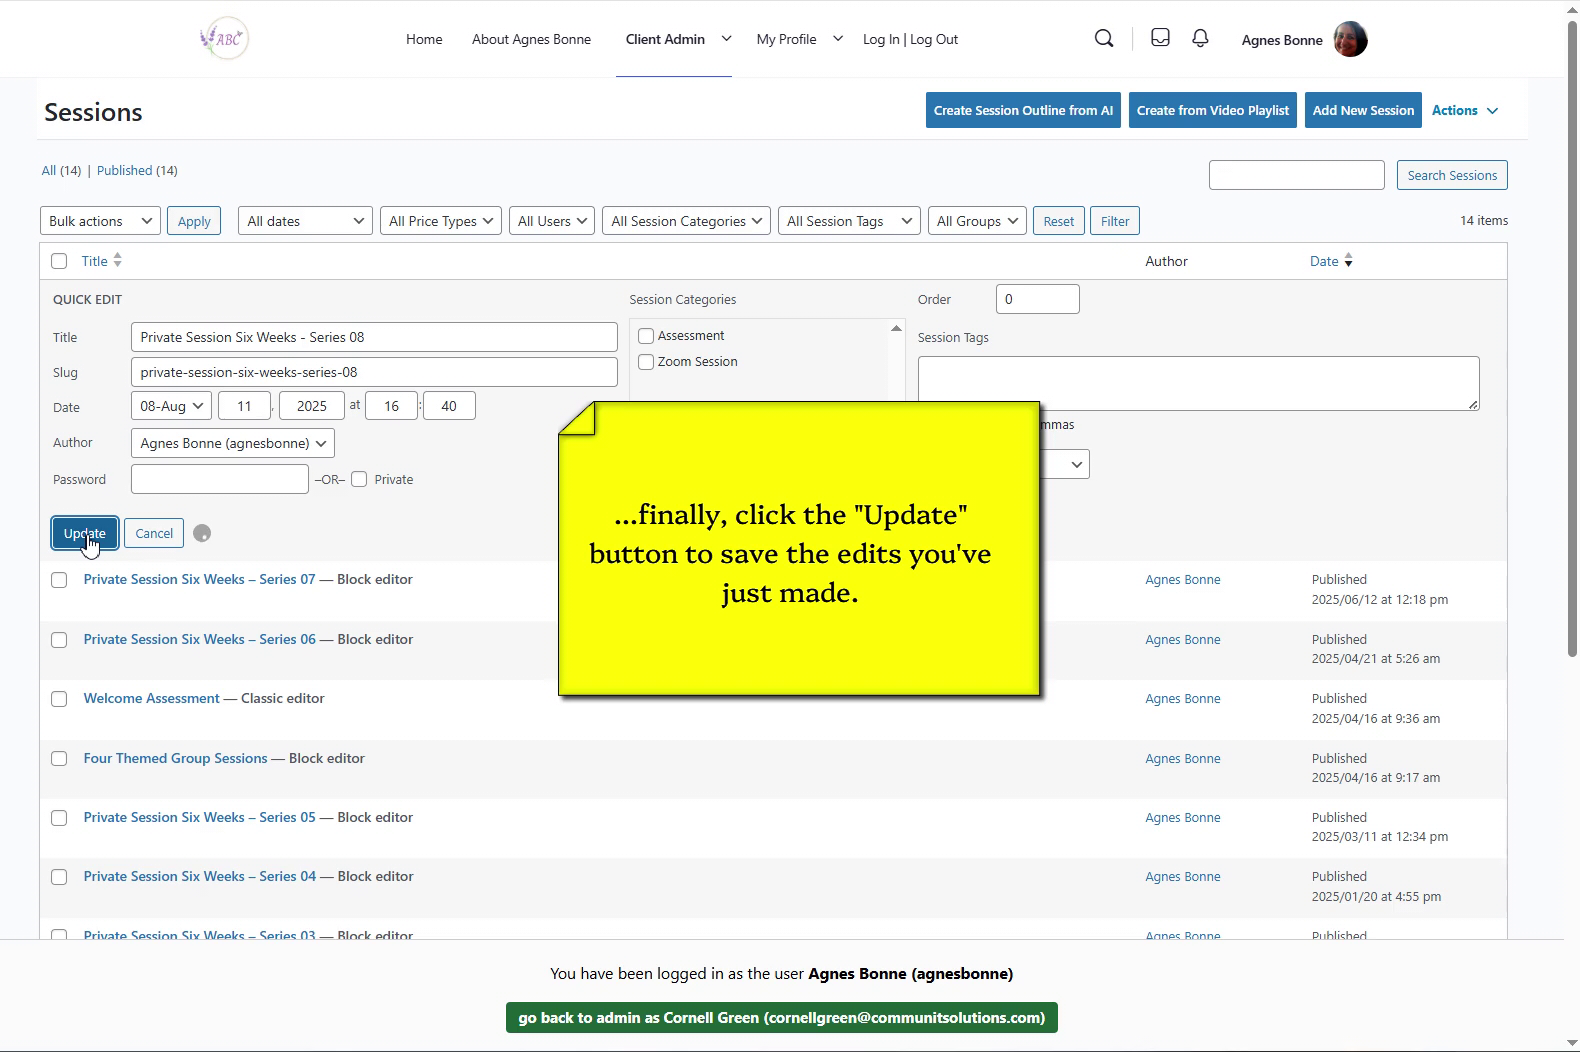
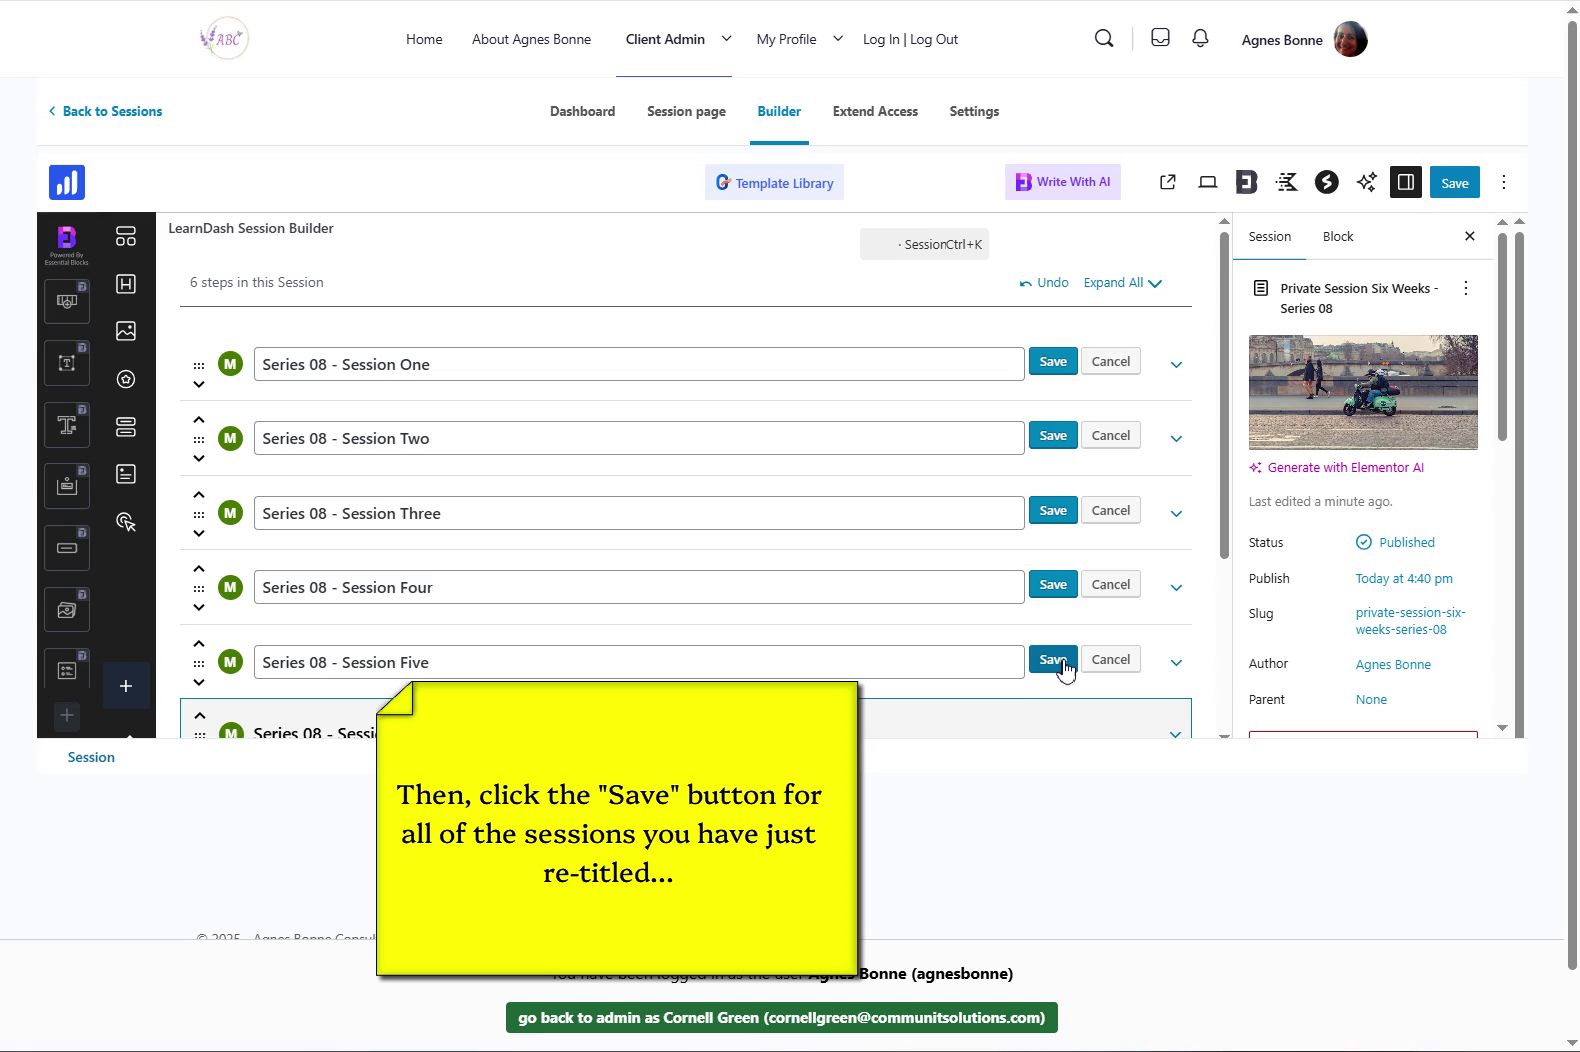
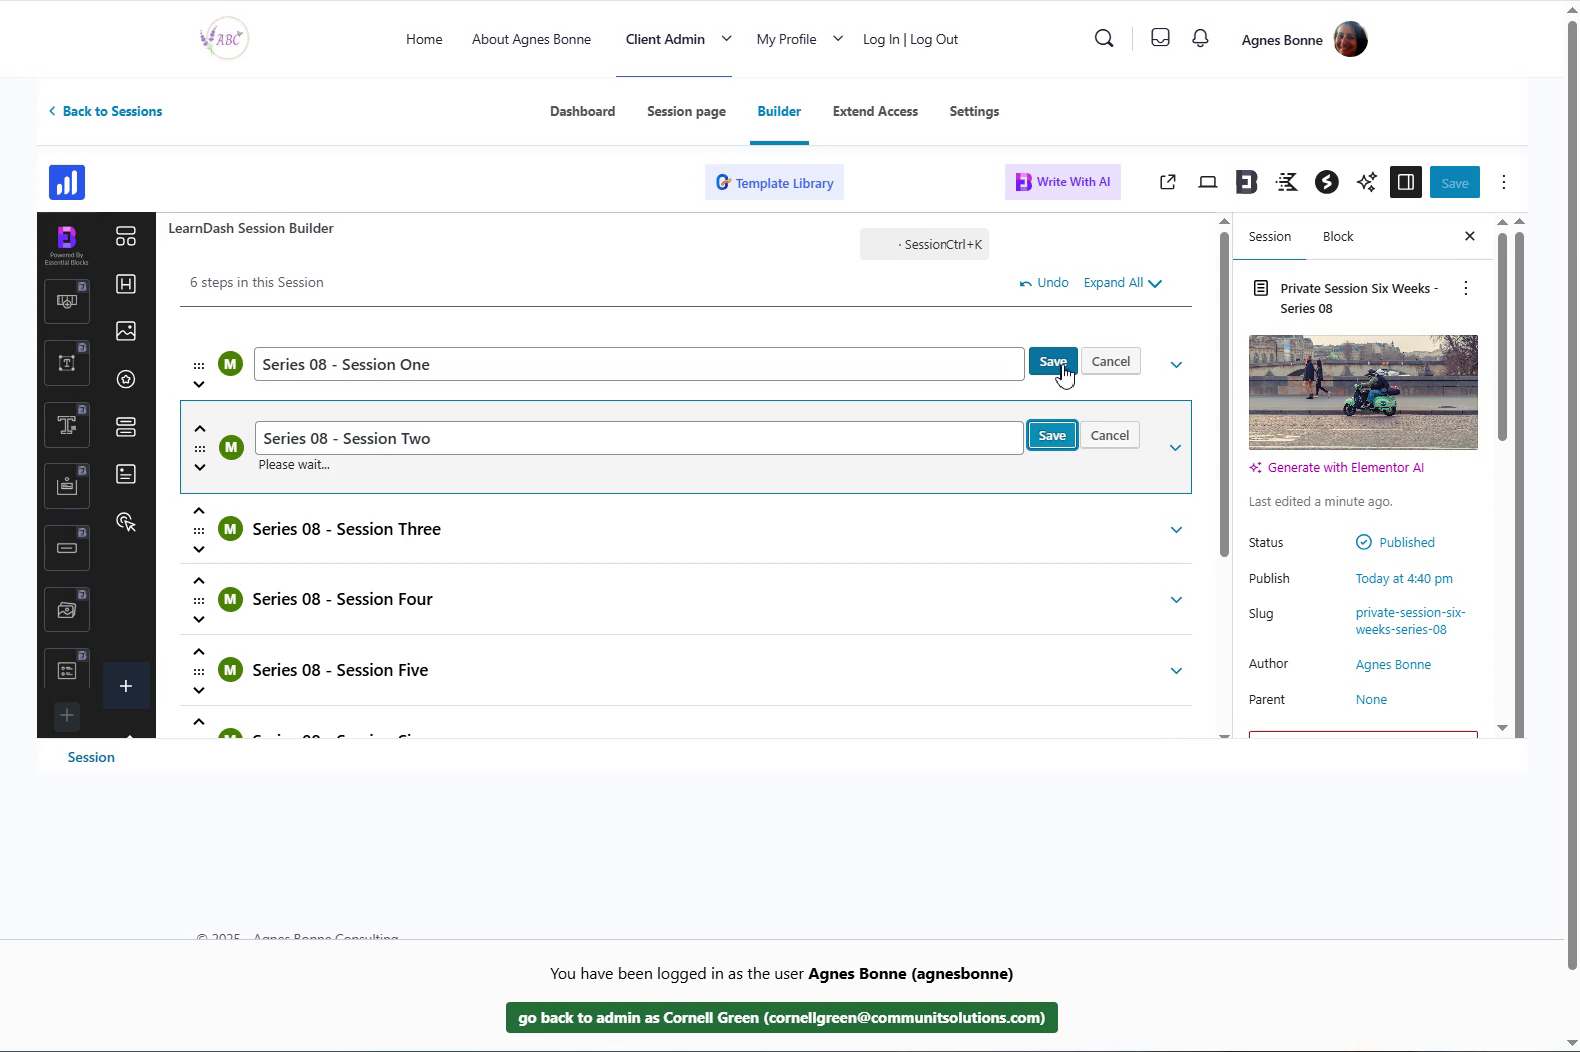
Click the “Save” button for each Session name after you have updated the Series number
…make sure you save every updated Session name
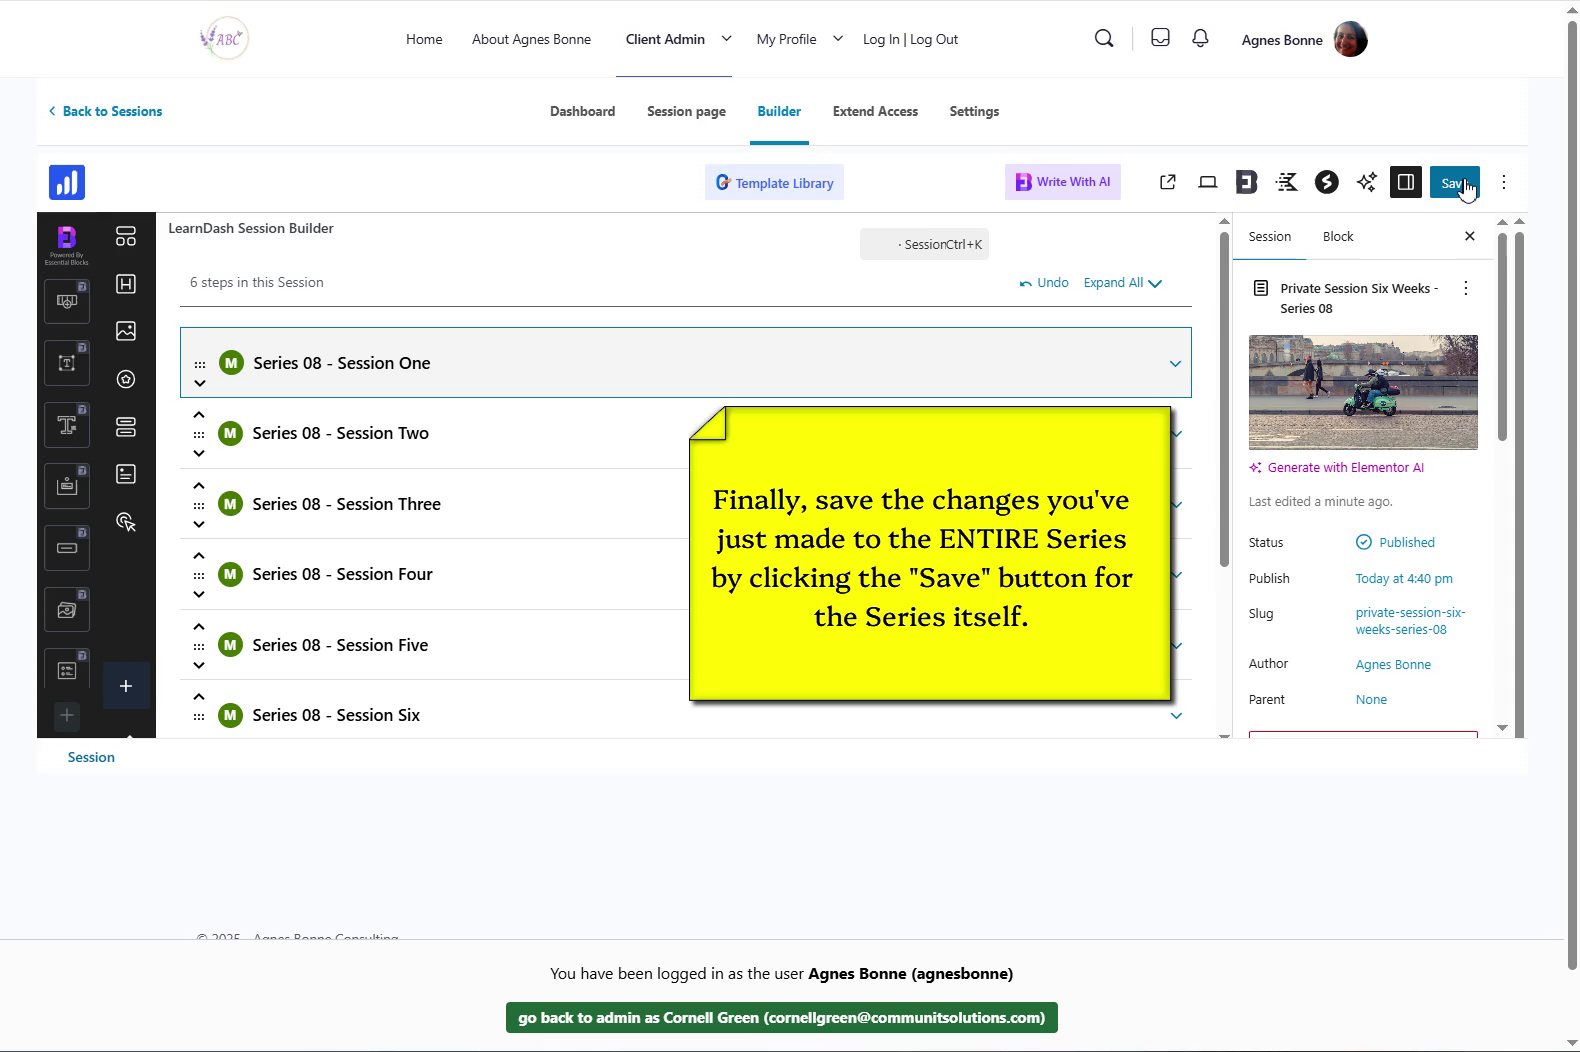
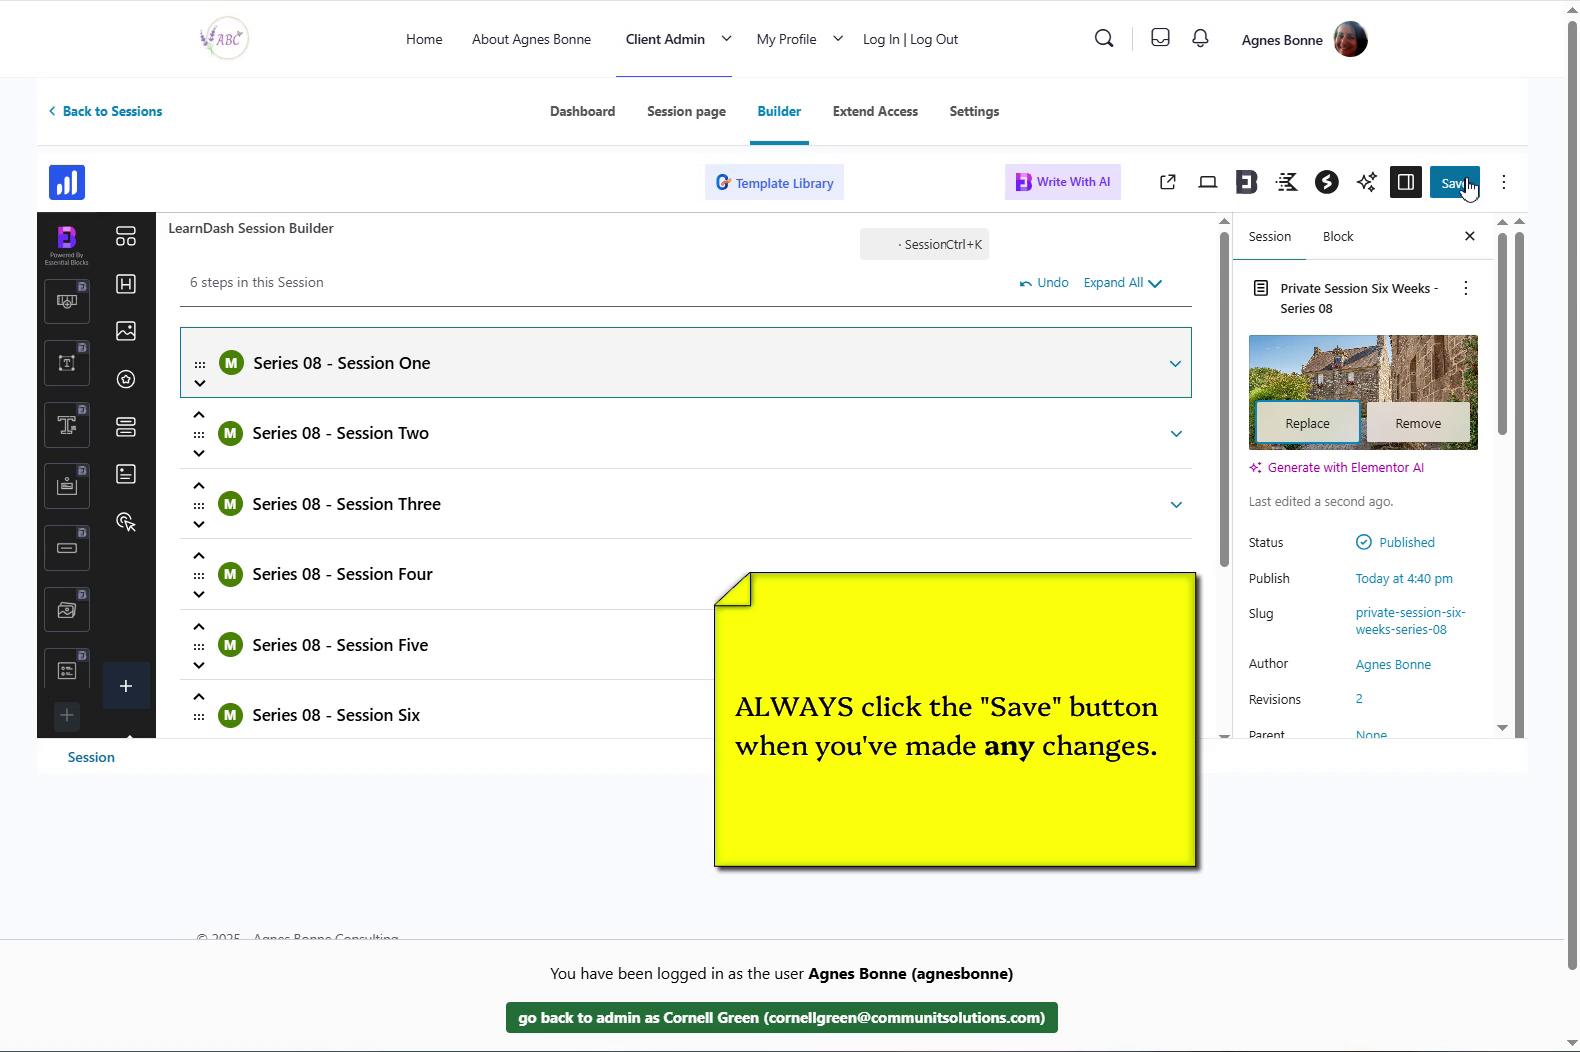
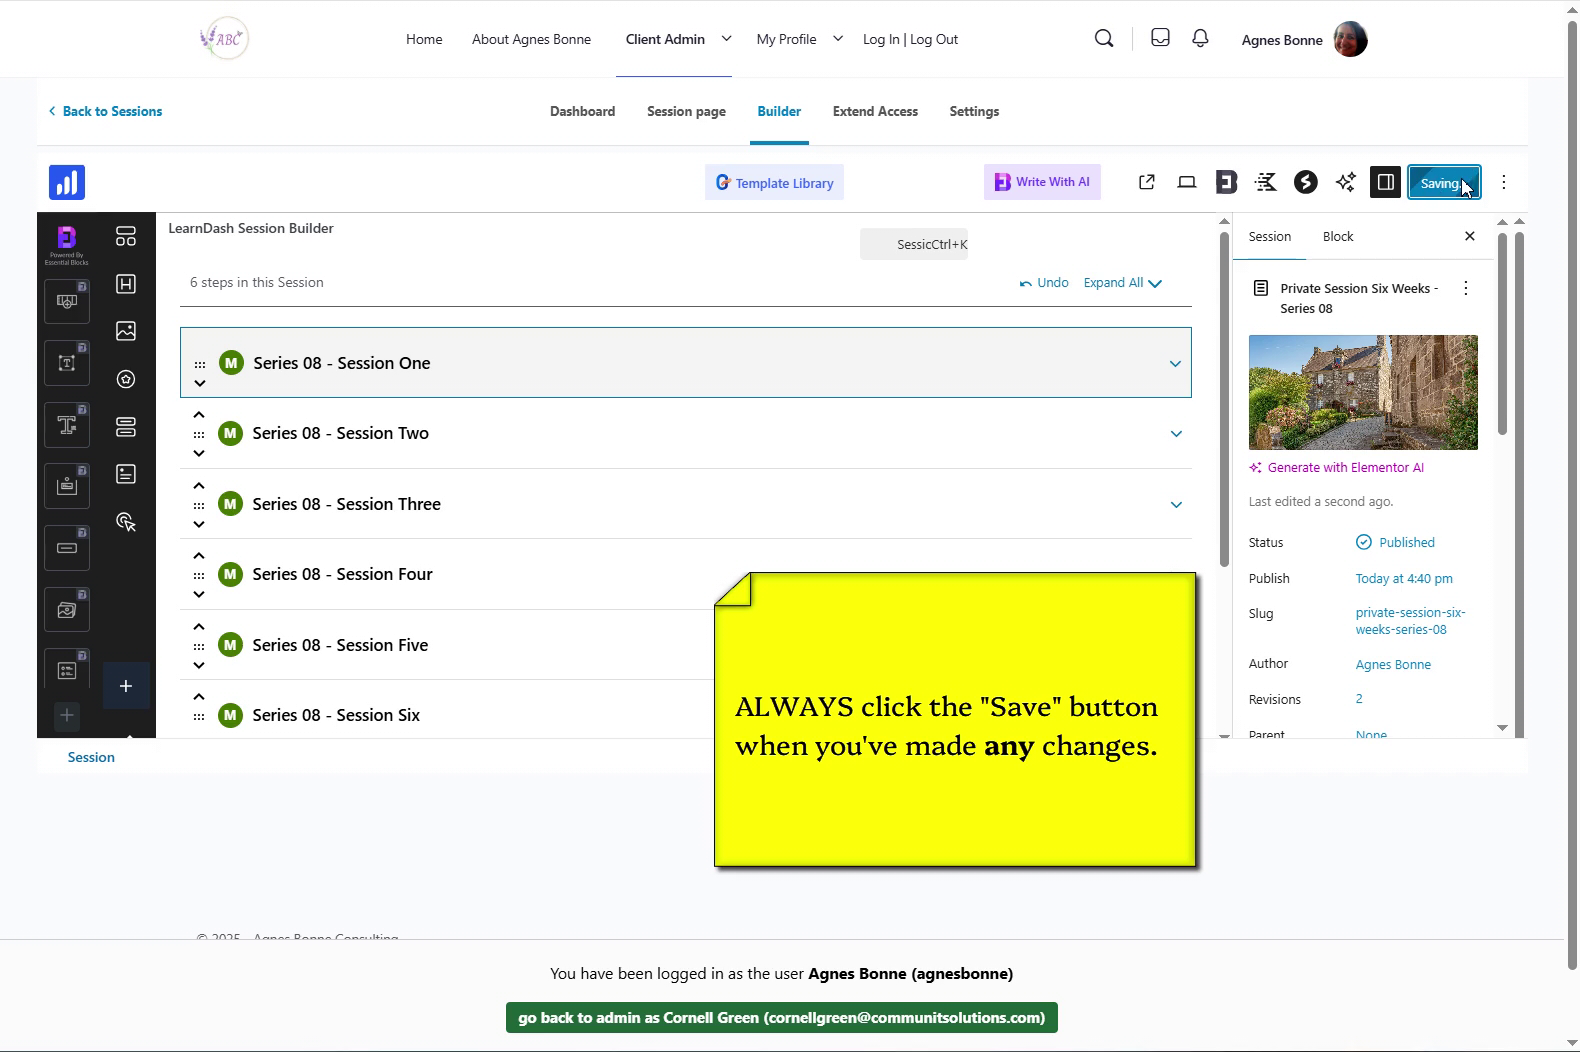
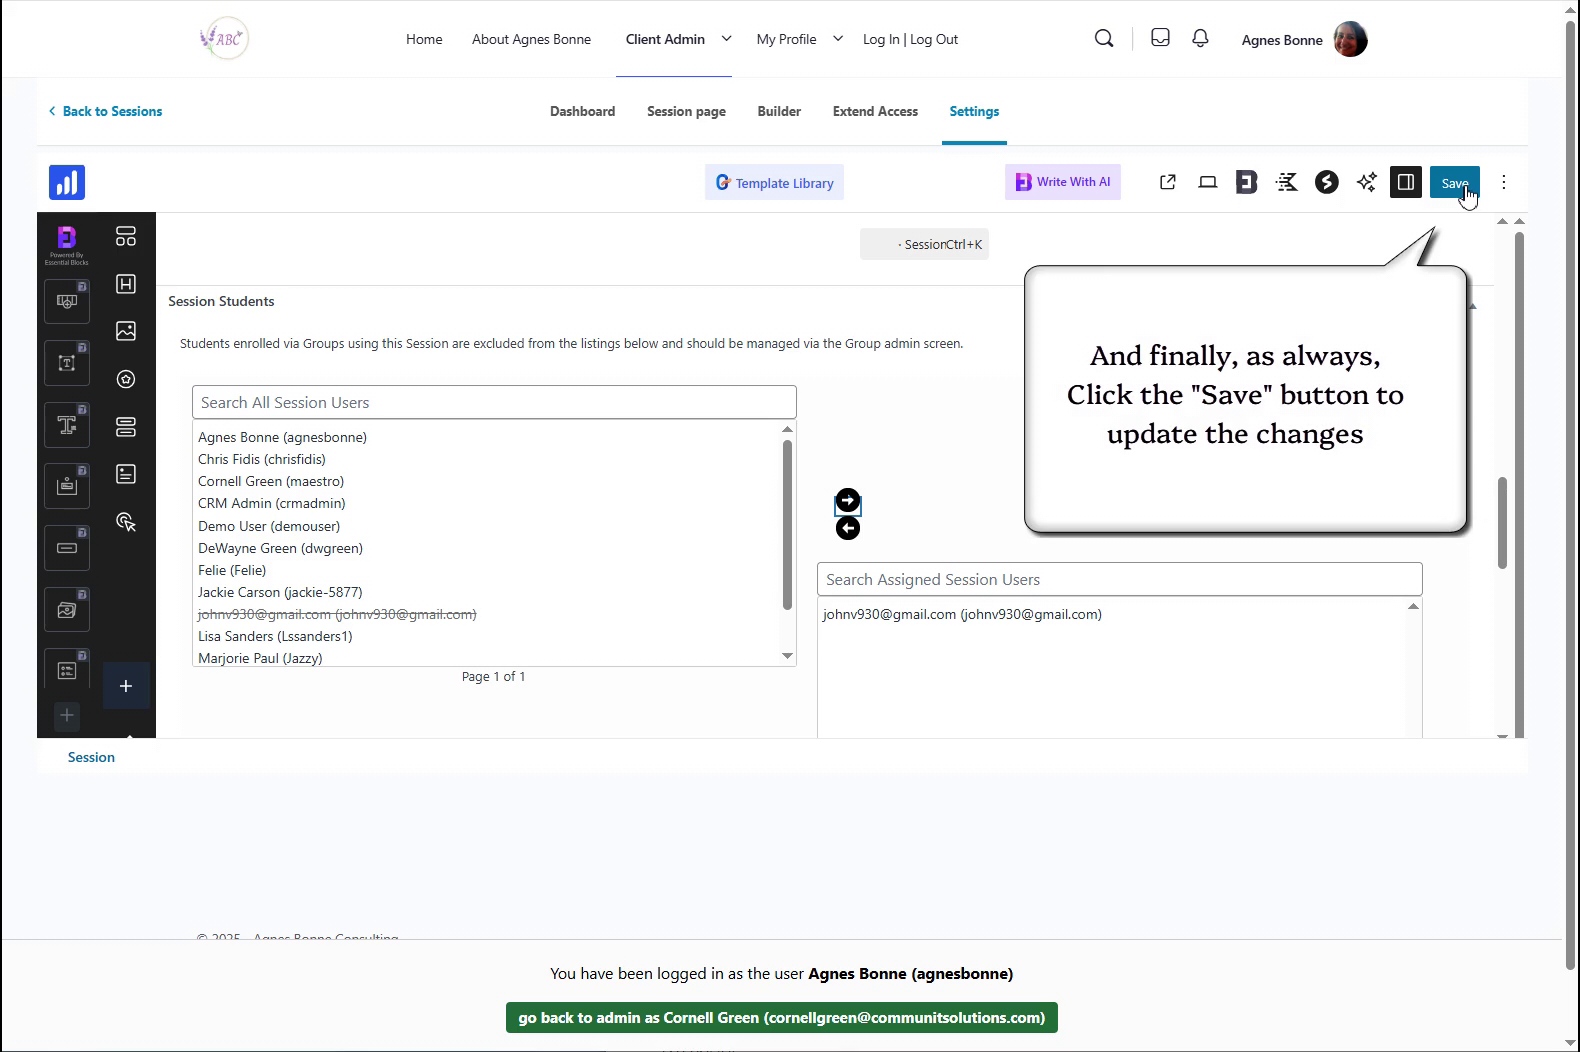
Finally, as always, click the “Save” button at the top of the screen to save all the work you have just completed
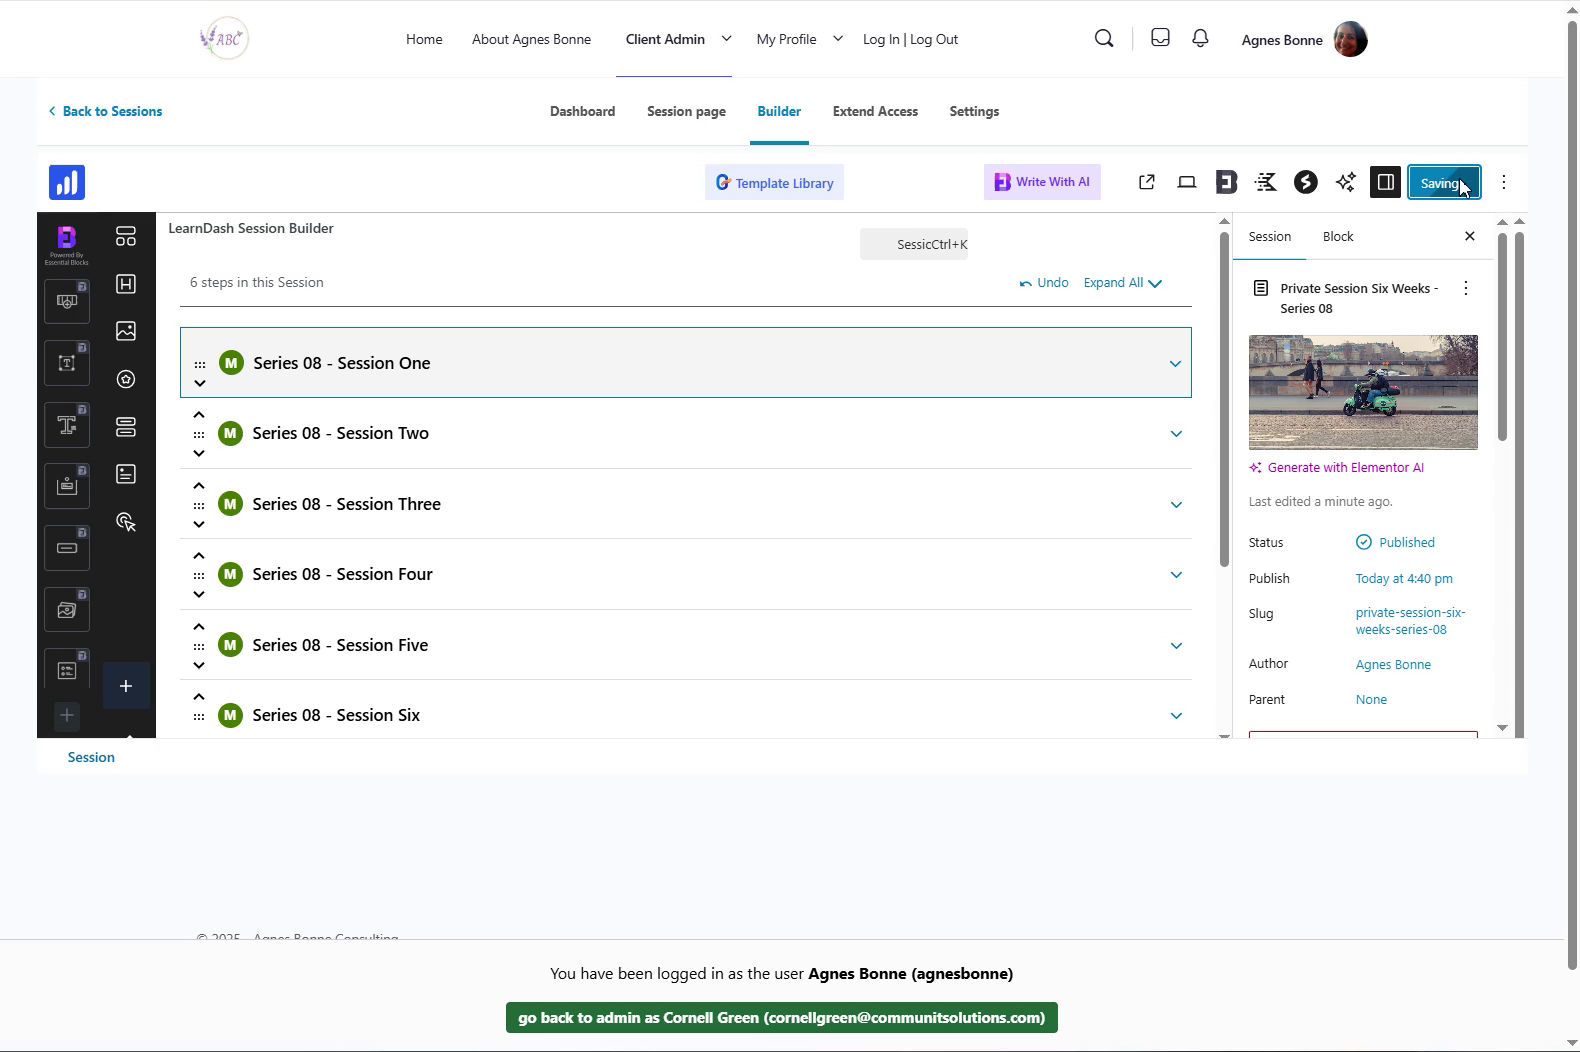
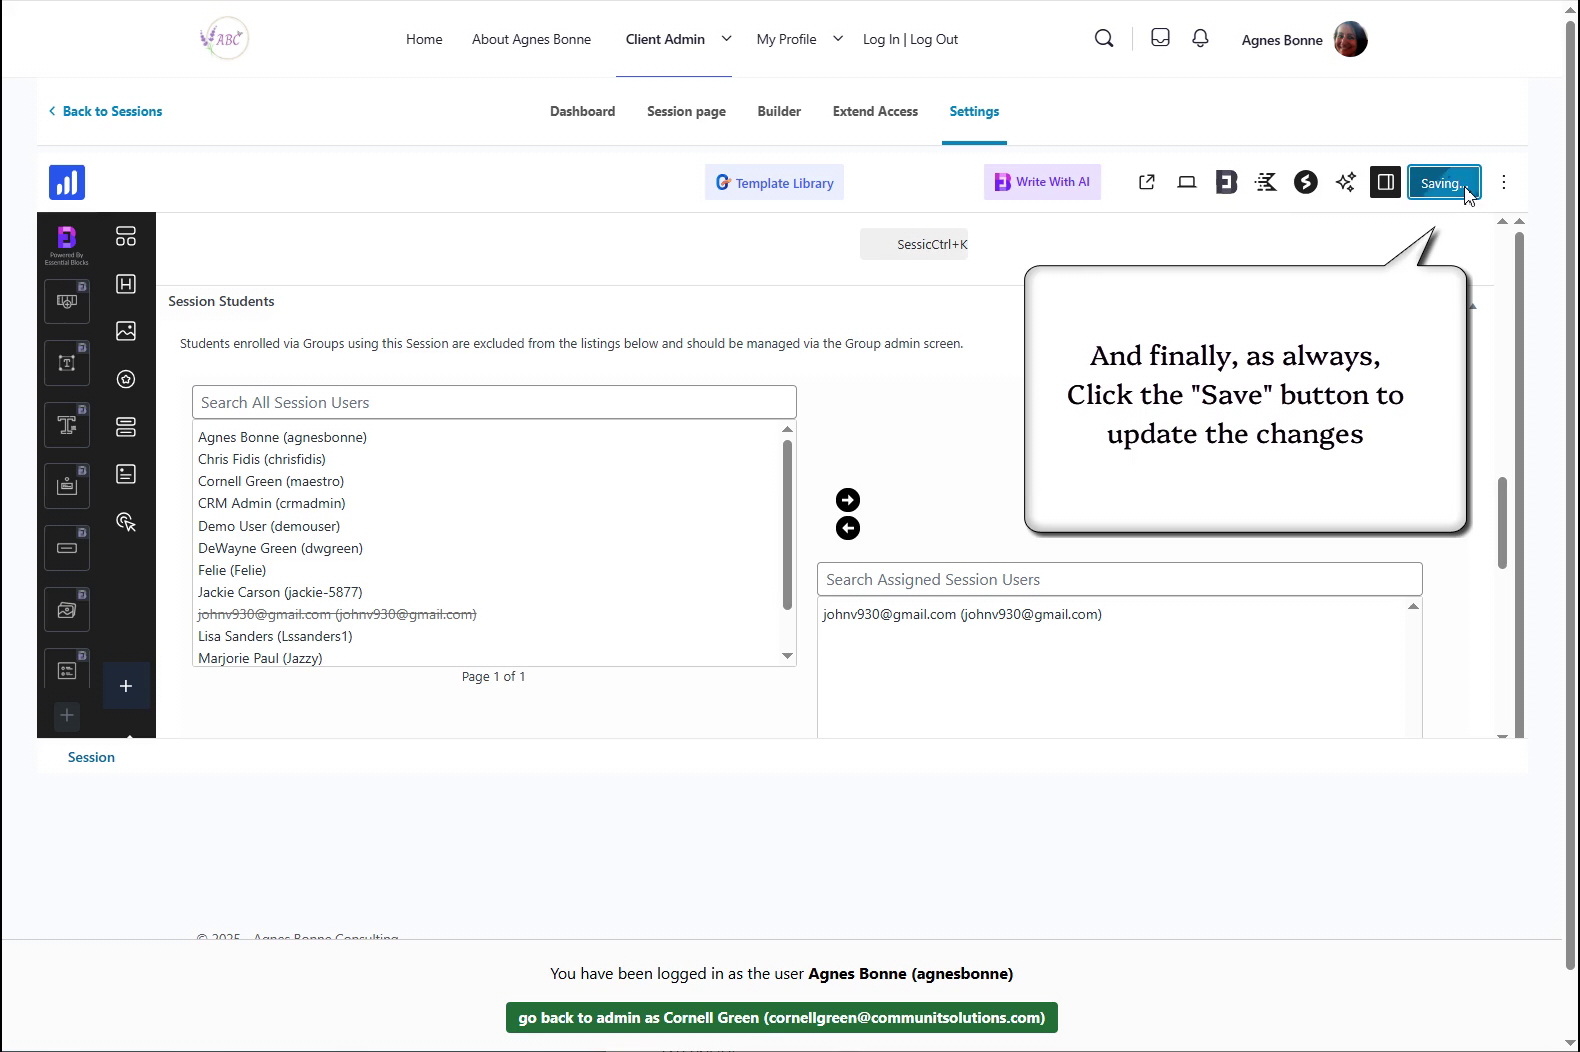
Saving… saving…
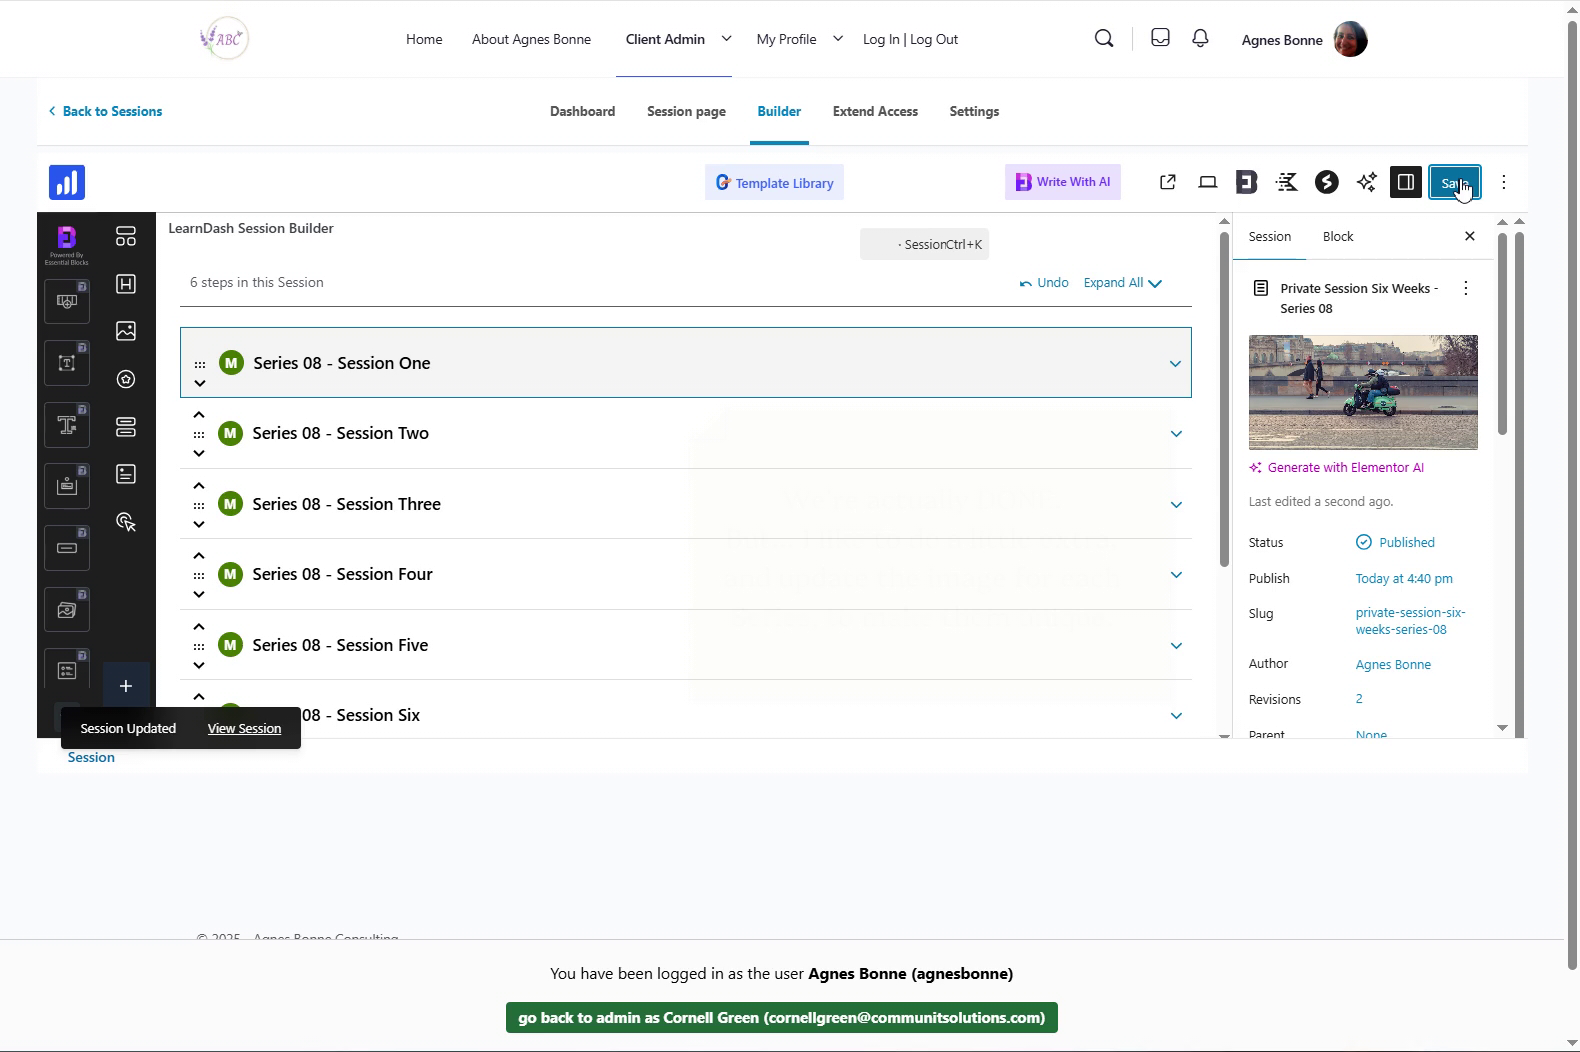
SAVED!
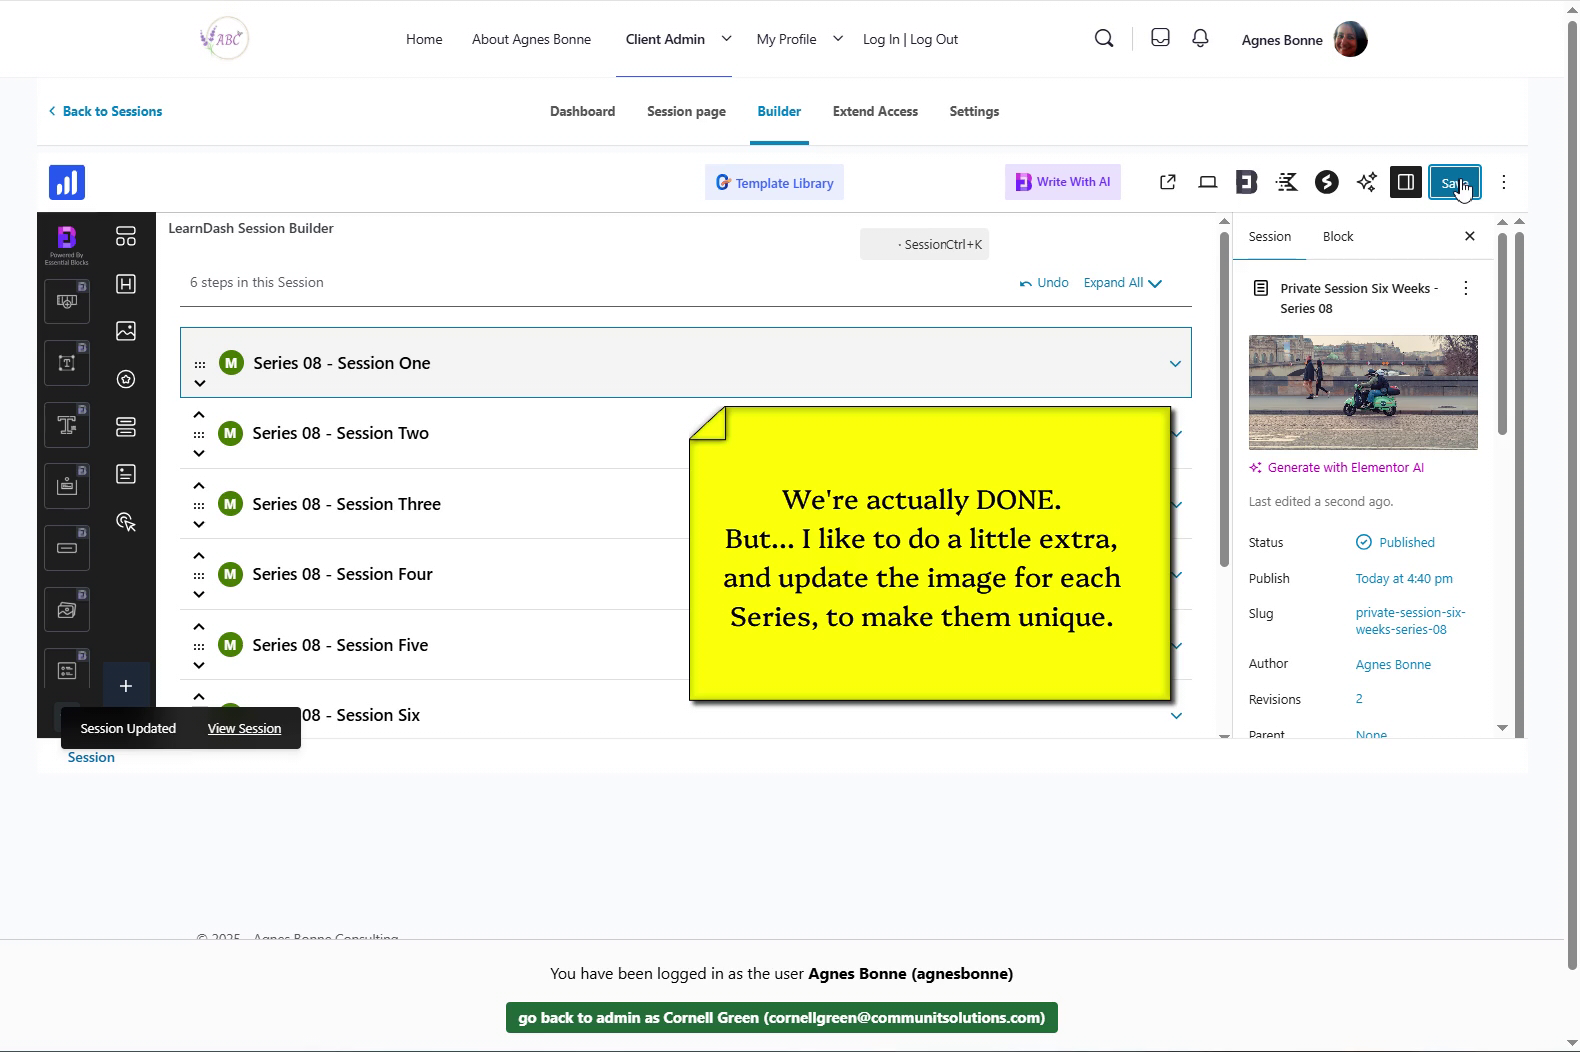
Now, one minor and one ESSENTIAL task, and you’ll be done
It’s a good idea to change the featured image which displays on the main Series page – it adds style and makes it easy to tell the Series from each other
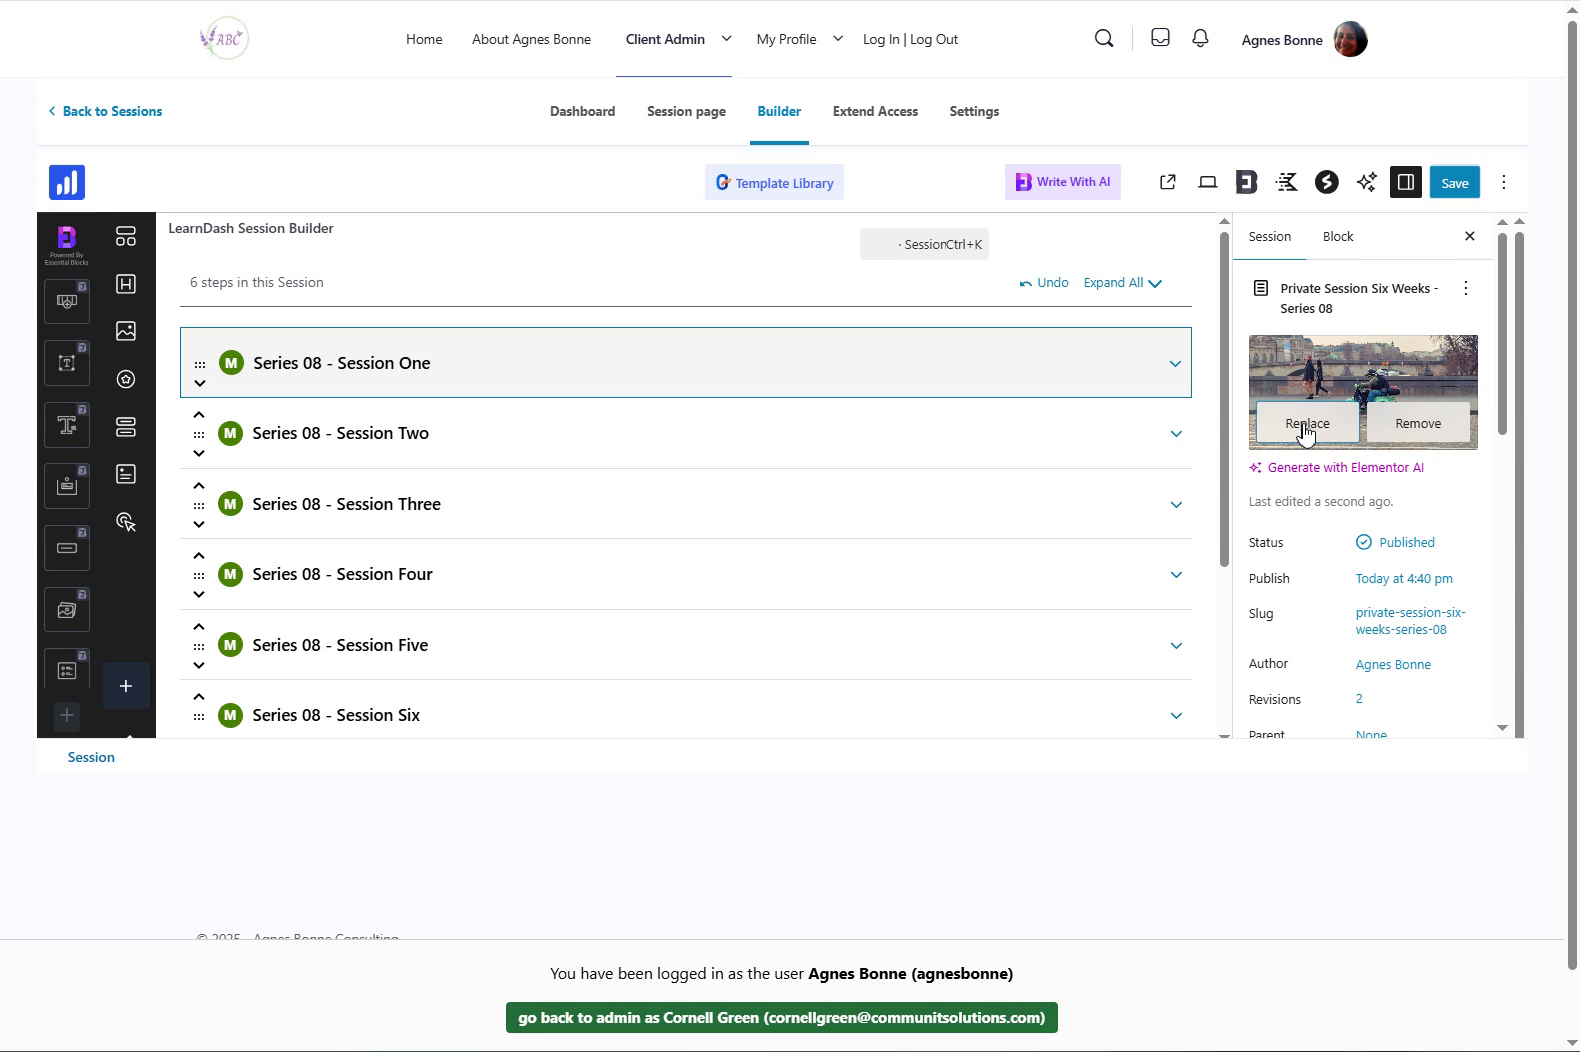
Move your mouse over the featured image and click the “Replace” button
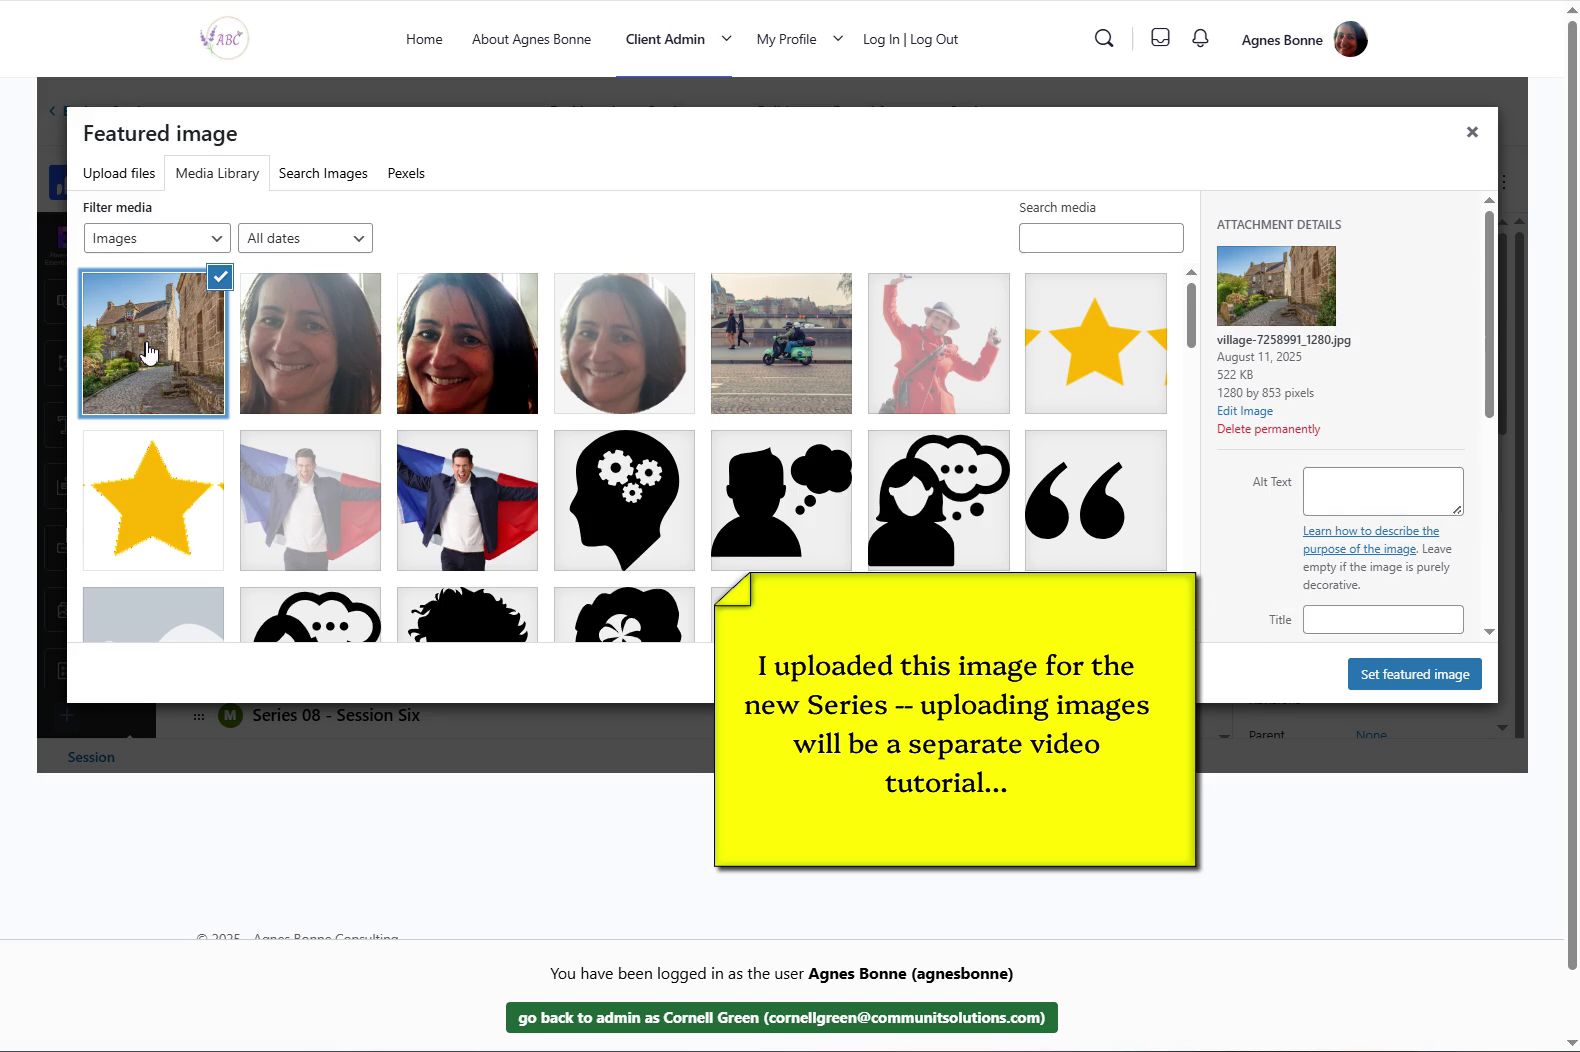
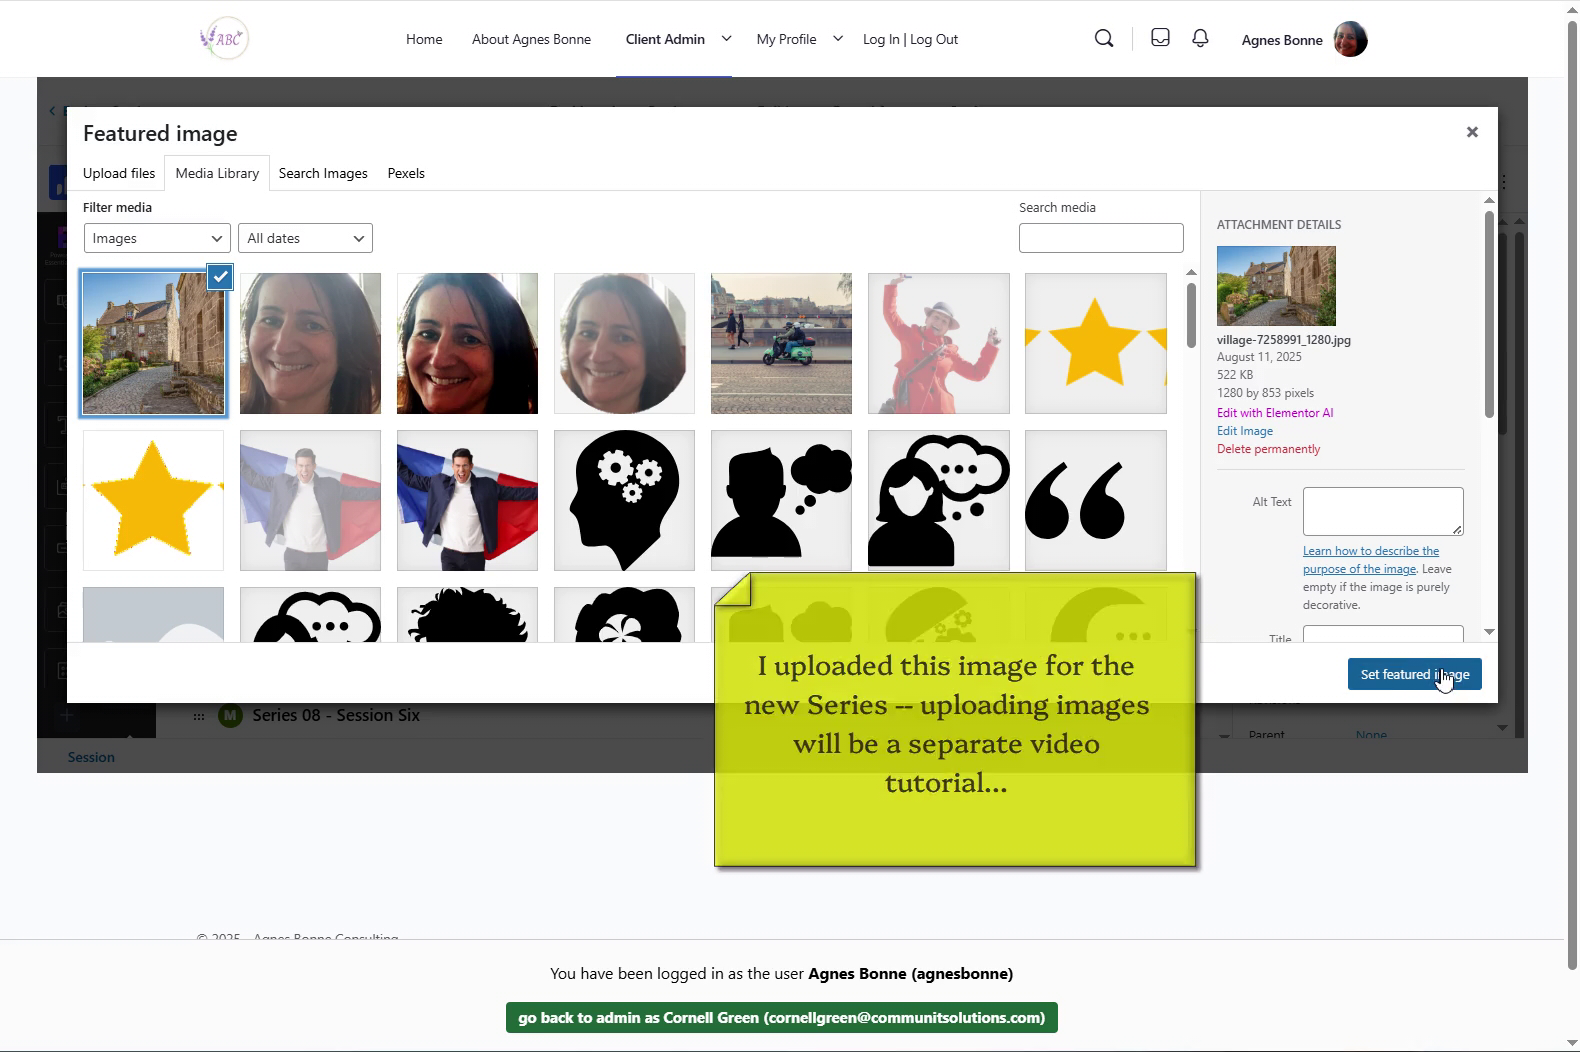
The Media Library window appears
Select the new Featured Image. You can click the “Upload File” tab and choose an image from your hard drive
Next, click the “Set Featured Image” button
The Featured Image has been replaced. Click the “Save” button to apply the change
Saving… saving… SAVED
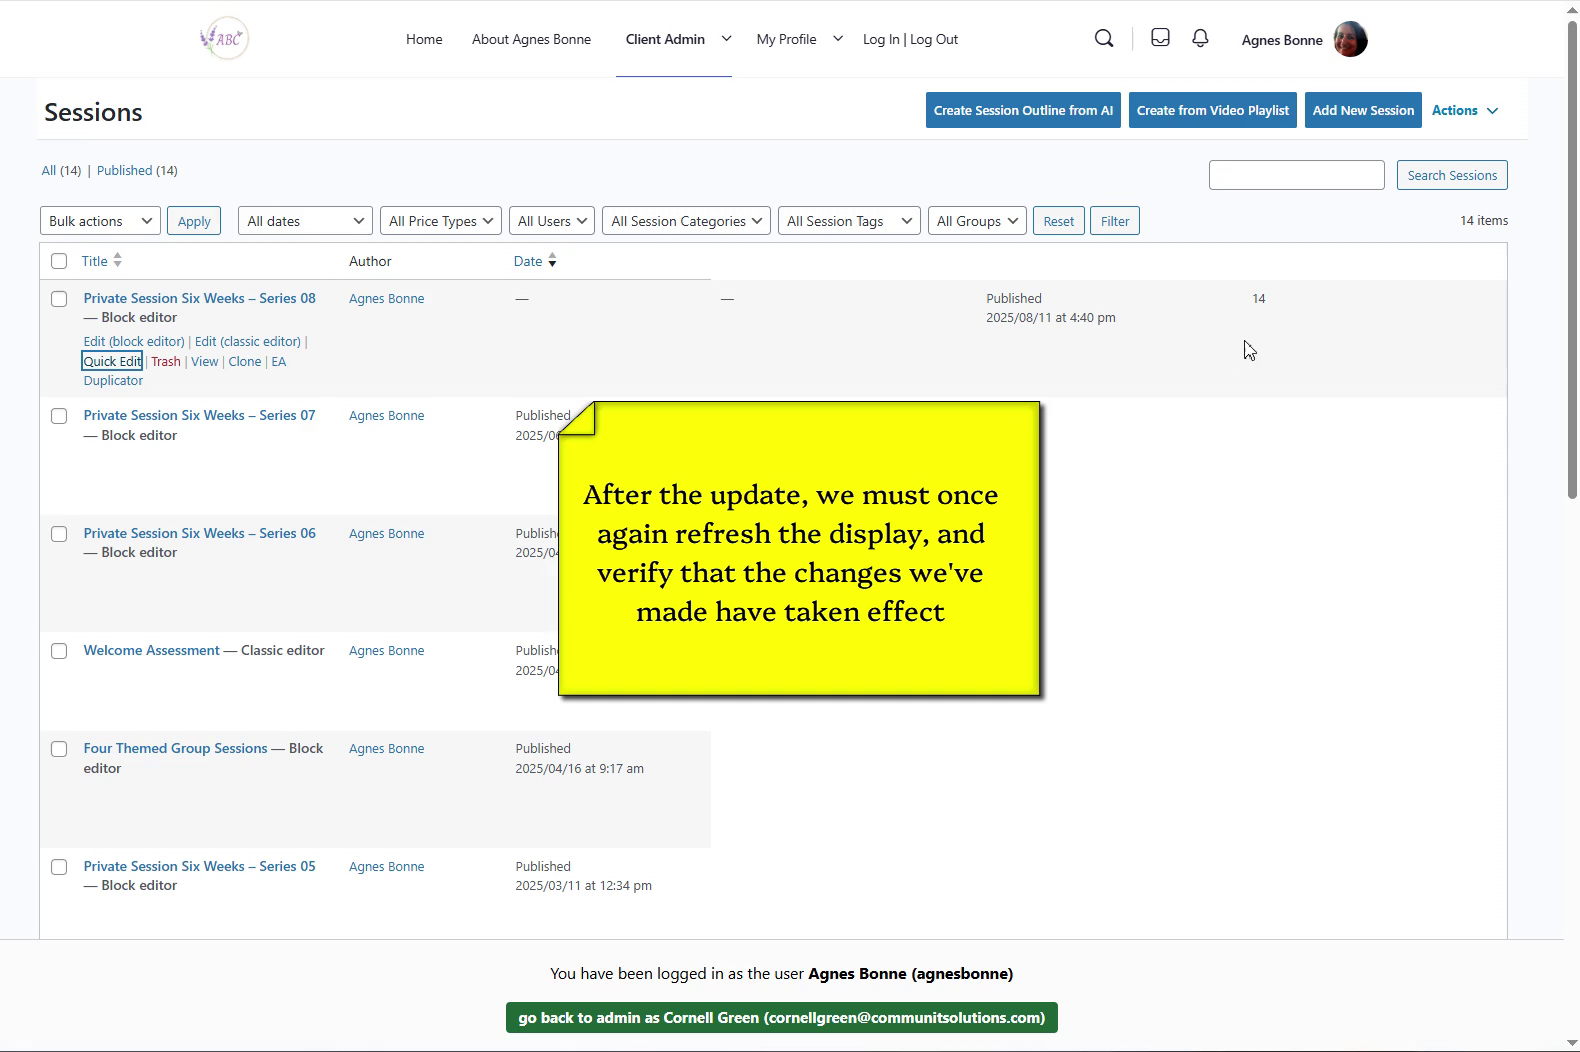
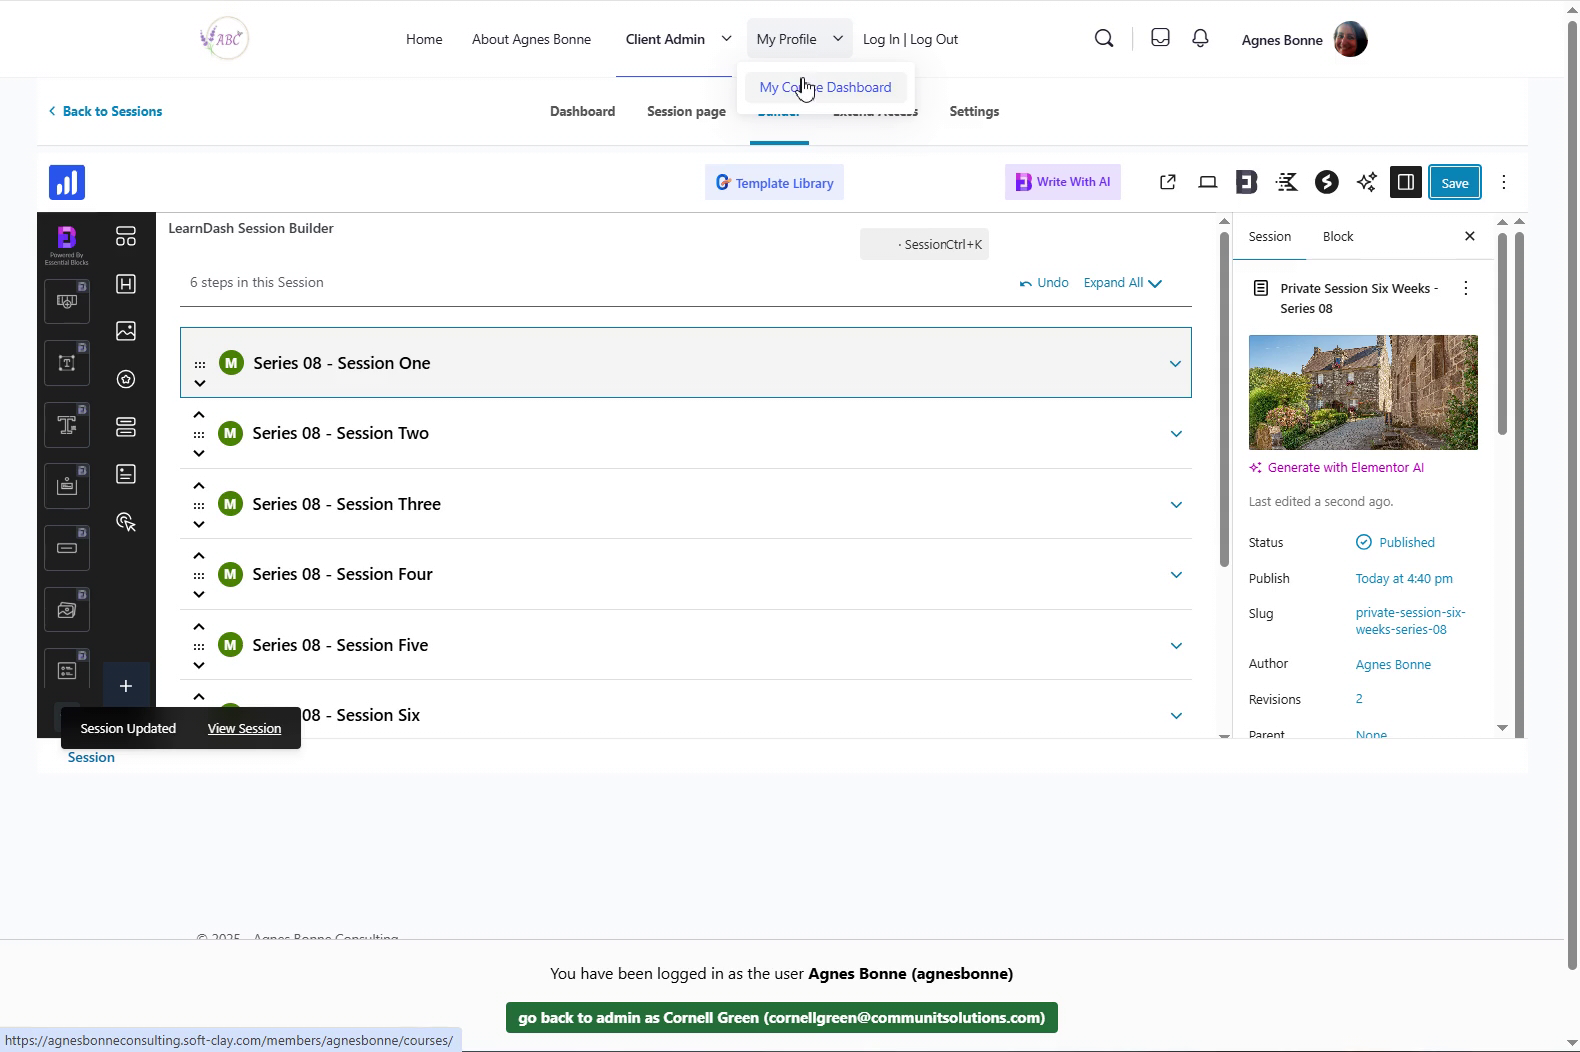
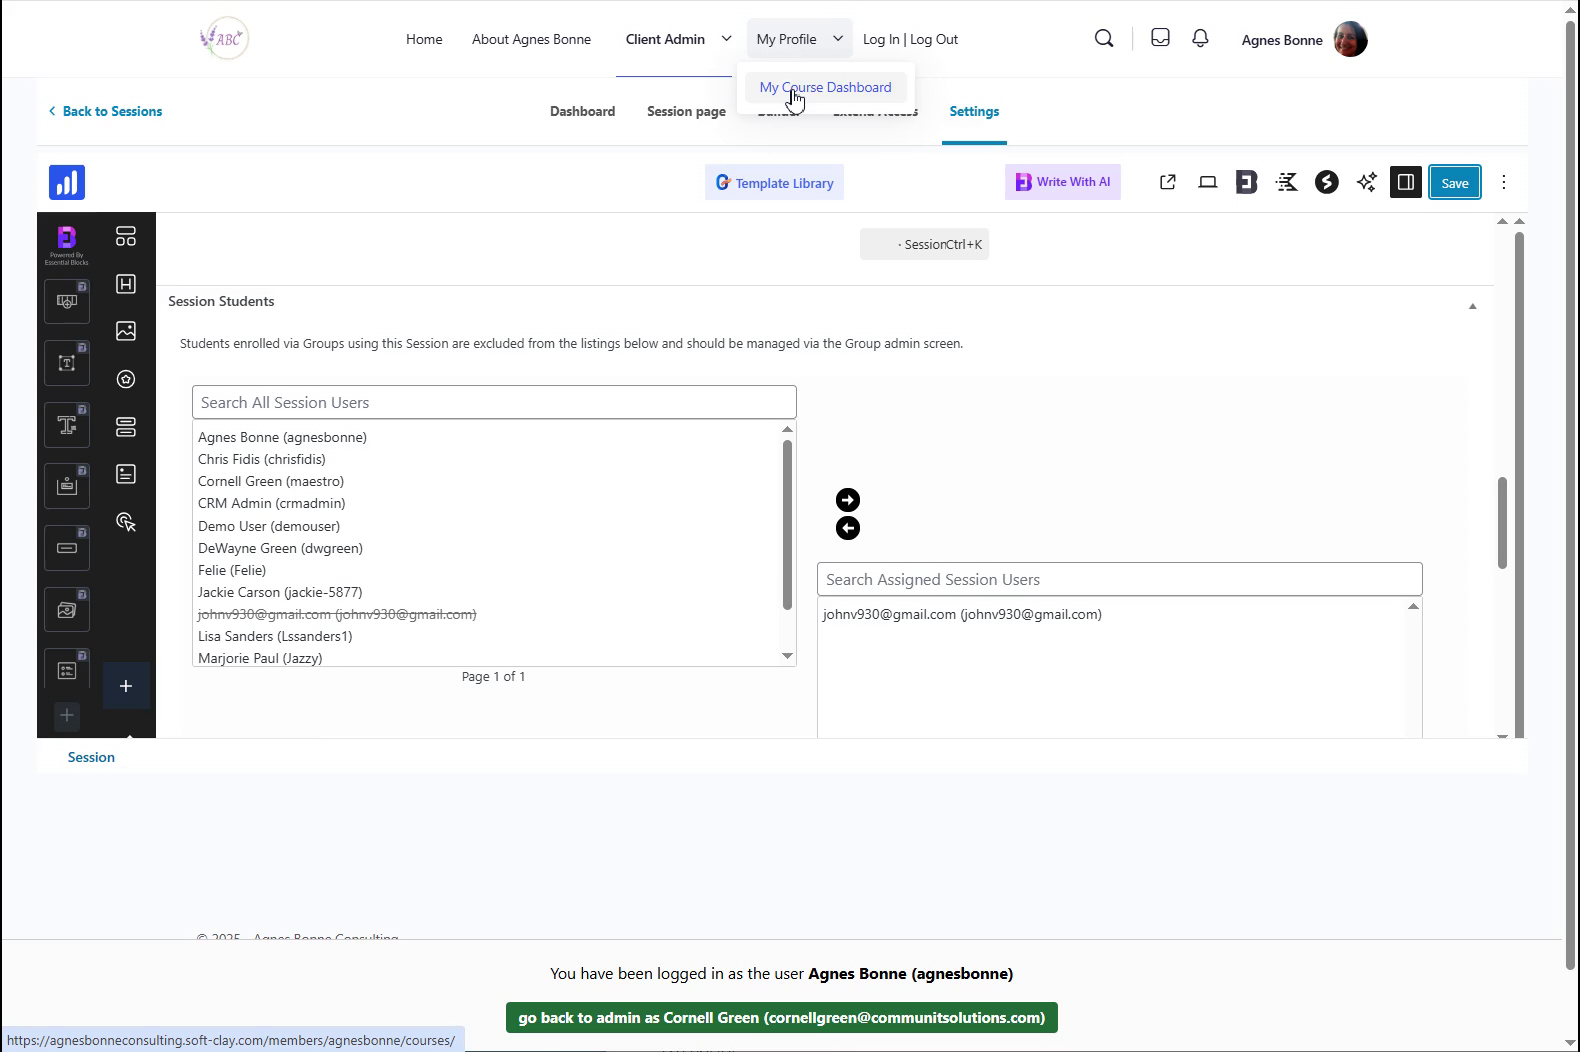
Now, confirm that the change you just made
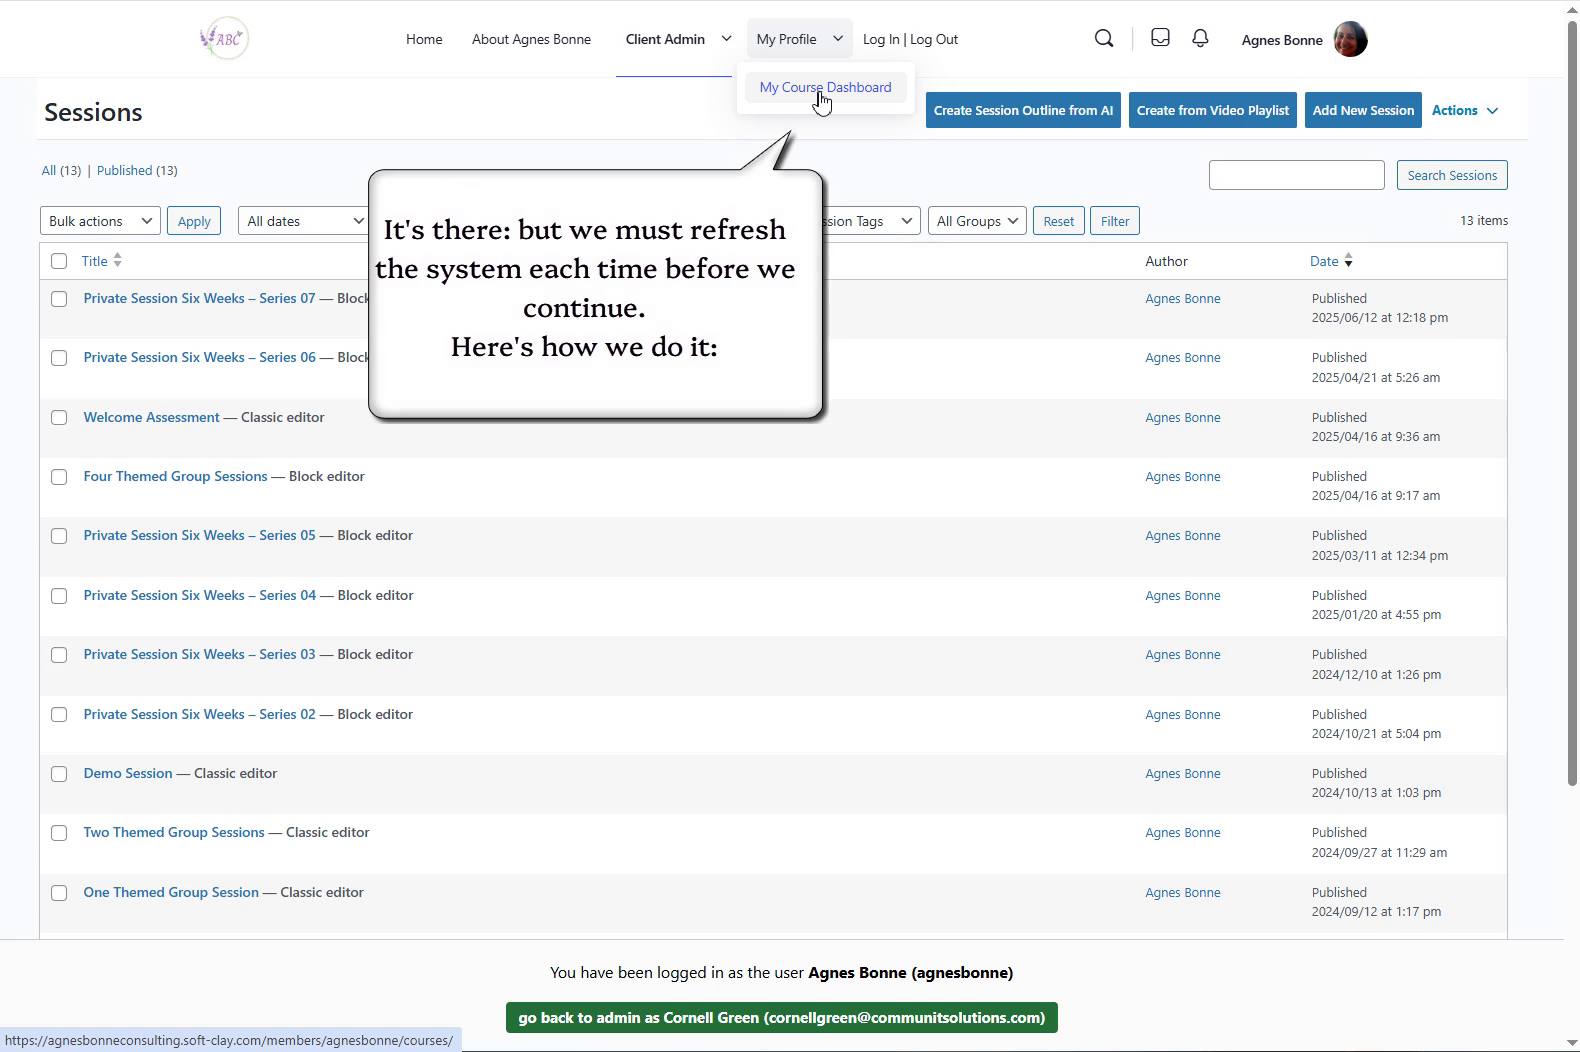
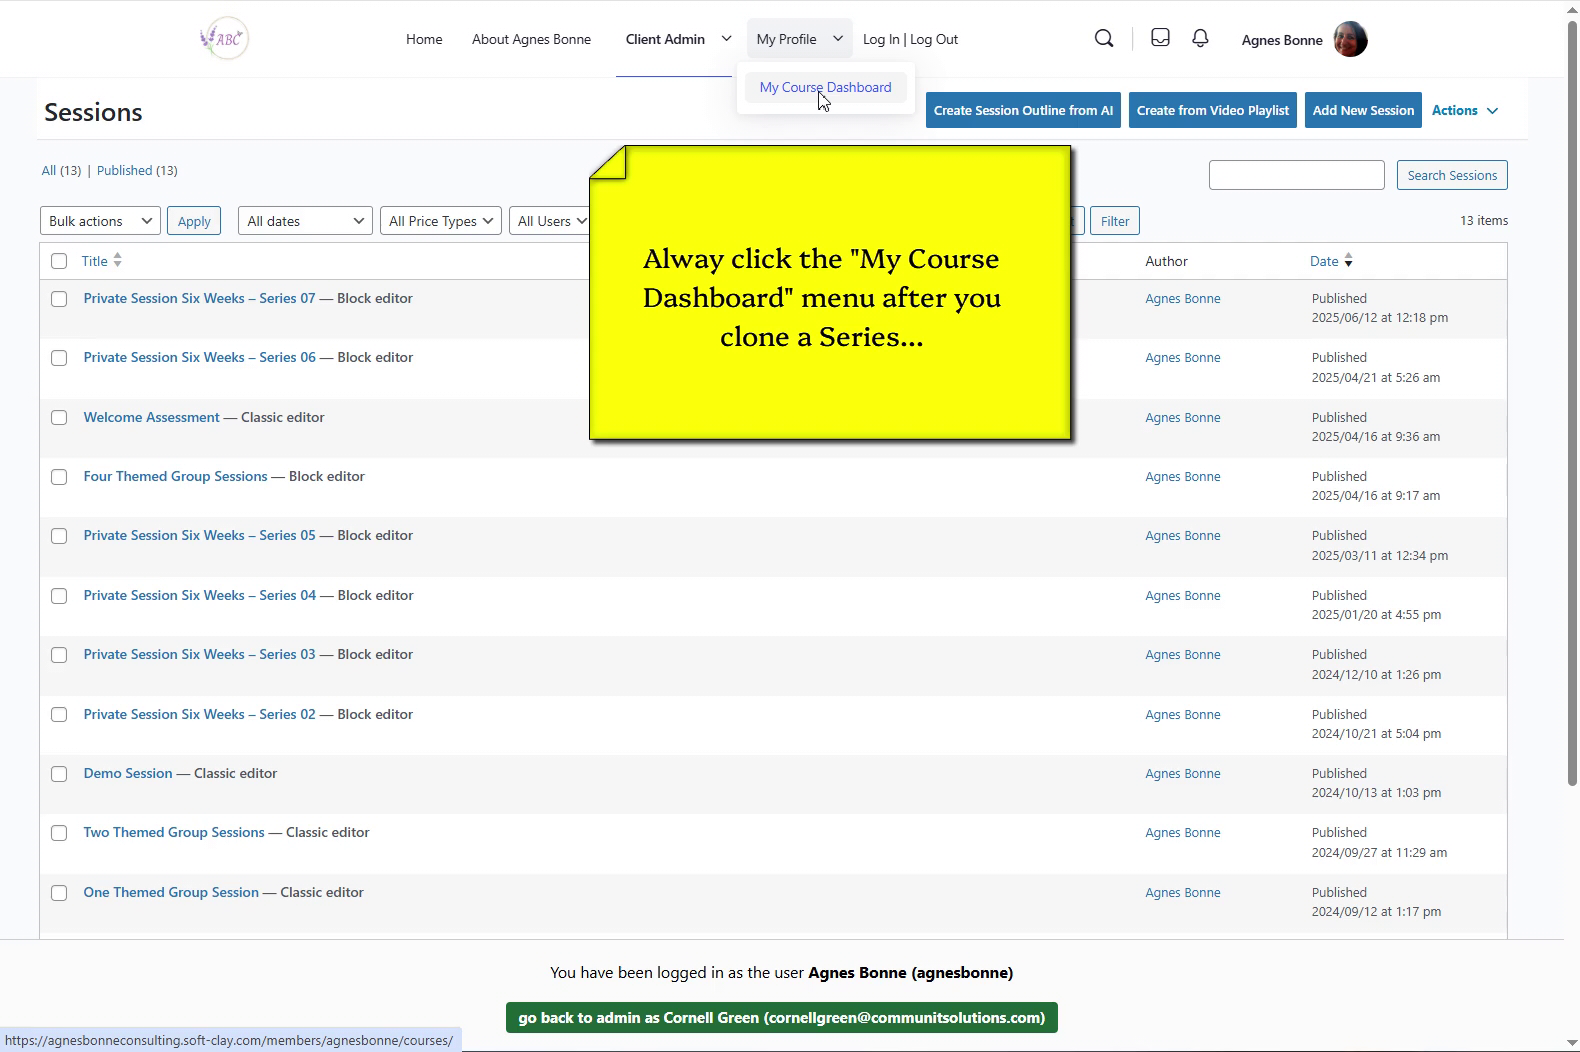
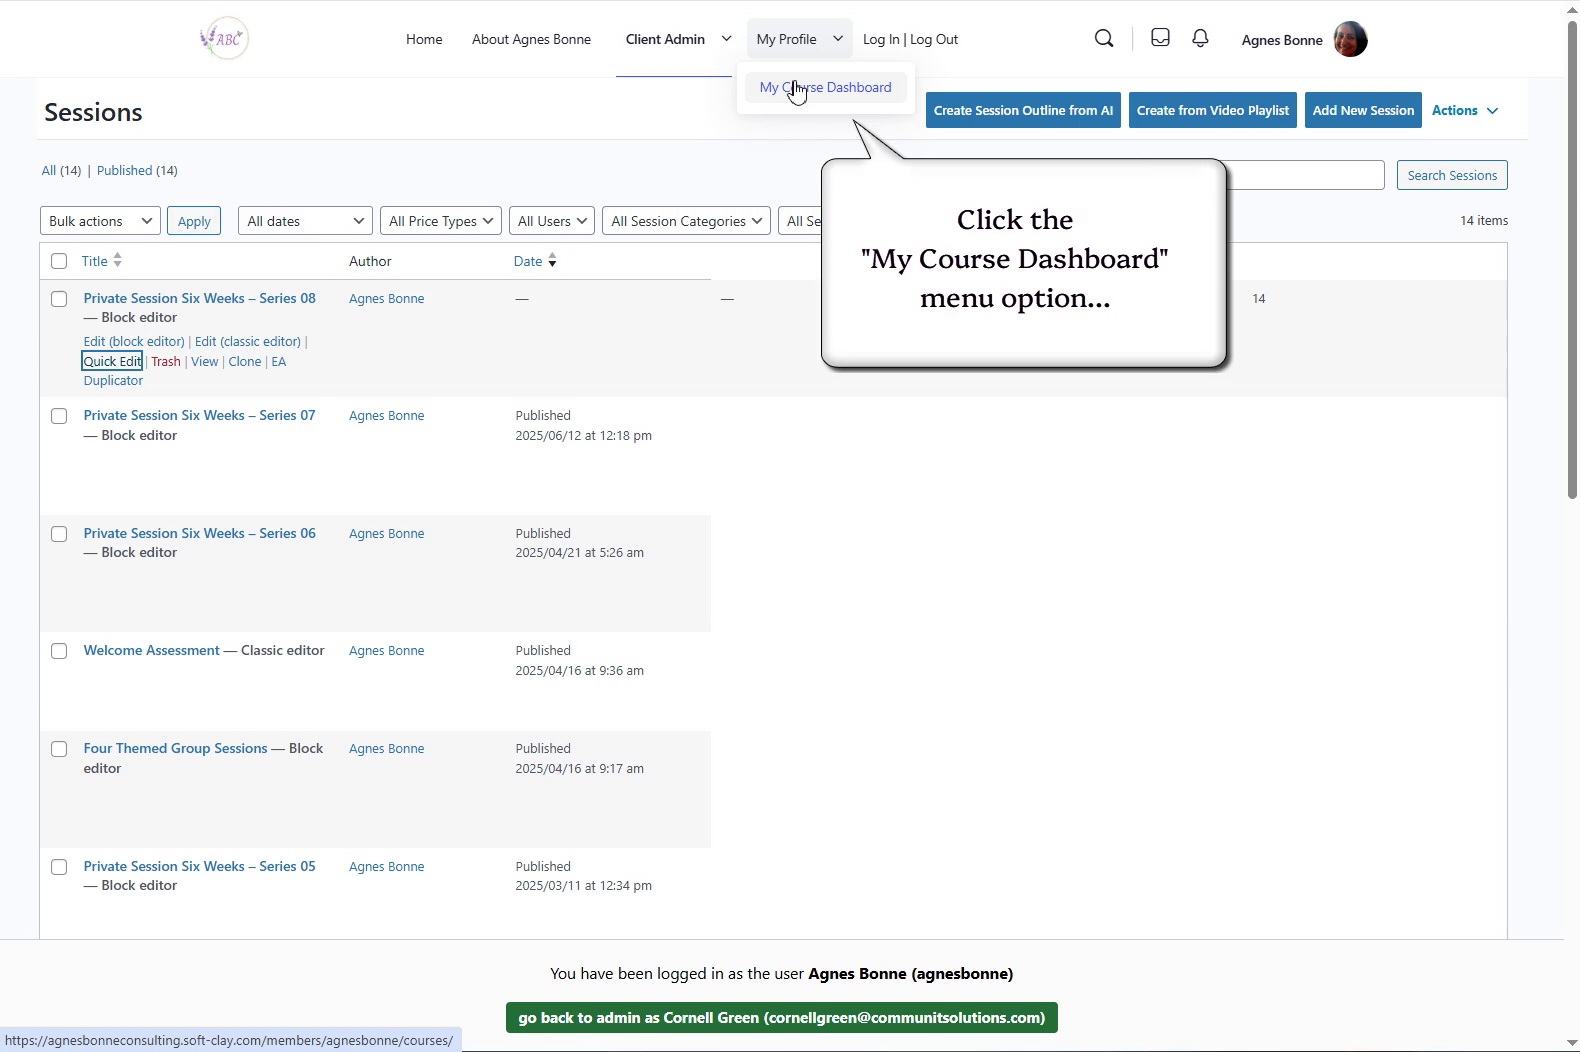
Click “My Profile -> My Course Dashboard” to view the Series’ list
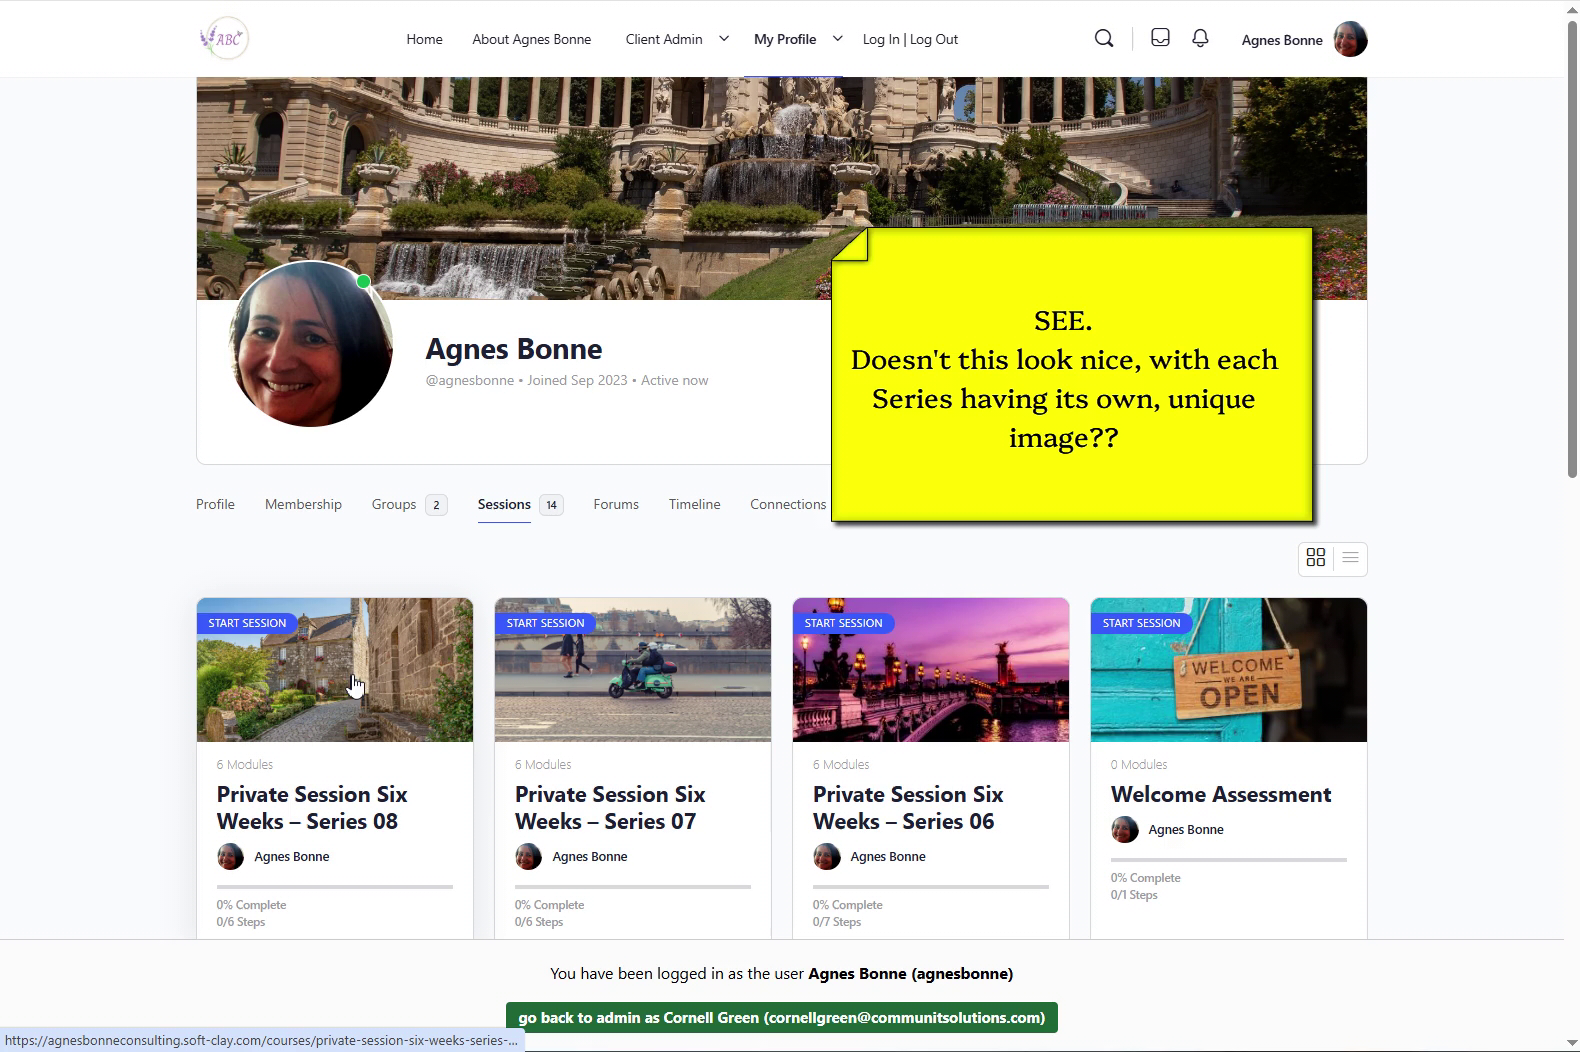
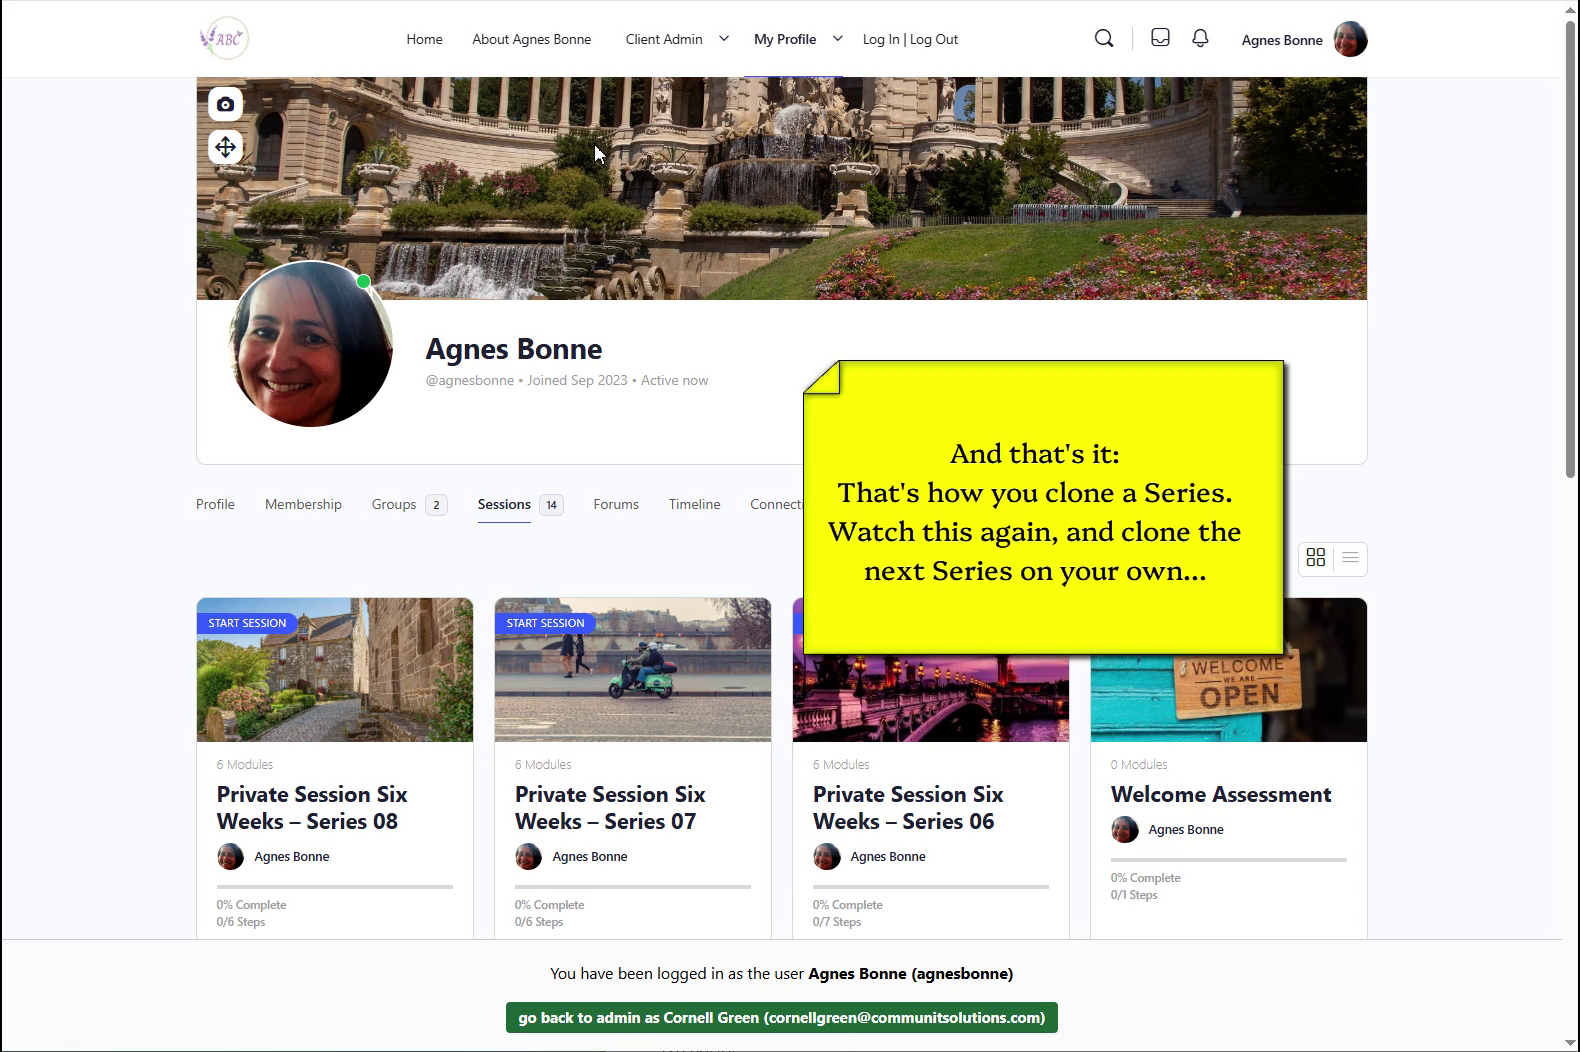
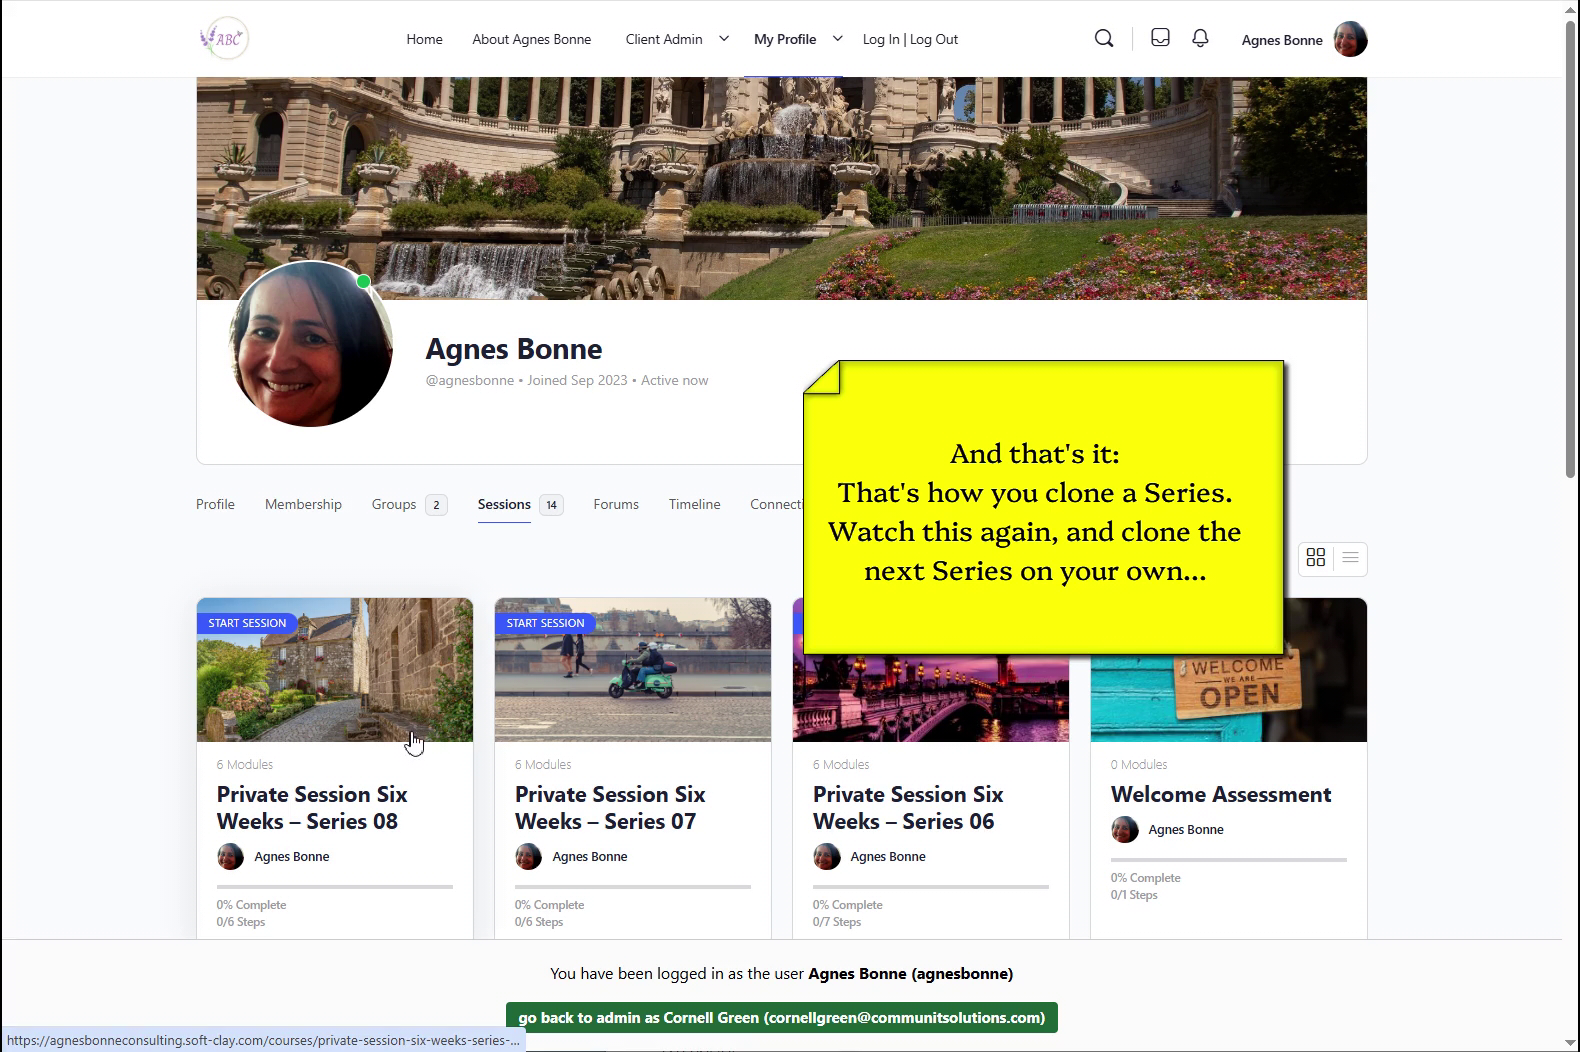
And there you have it – the cloned Series now has its own featured image
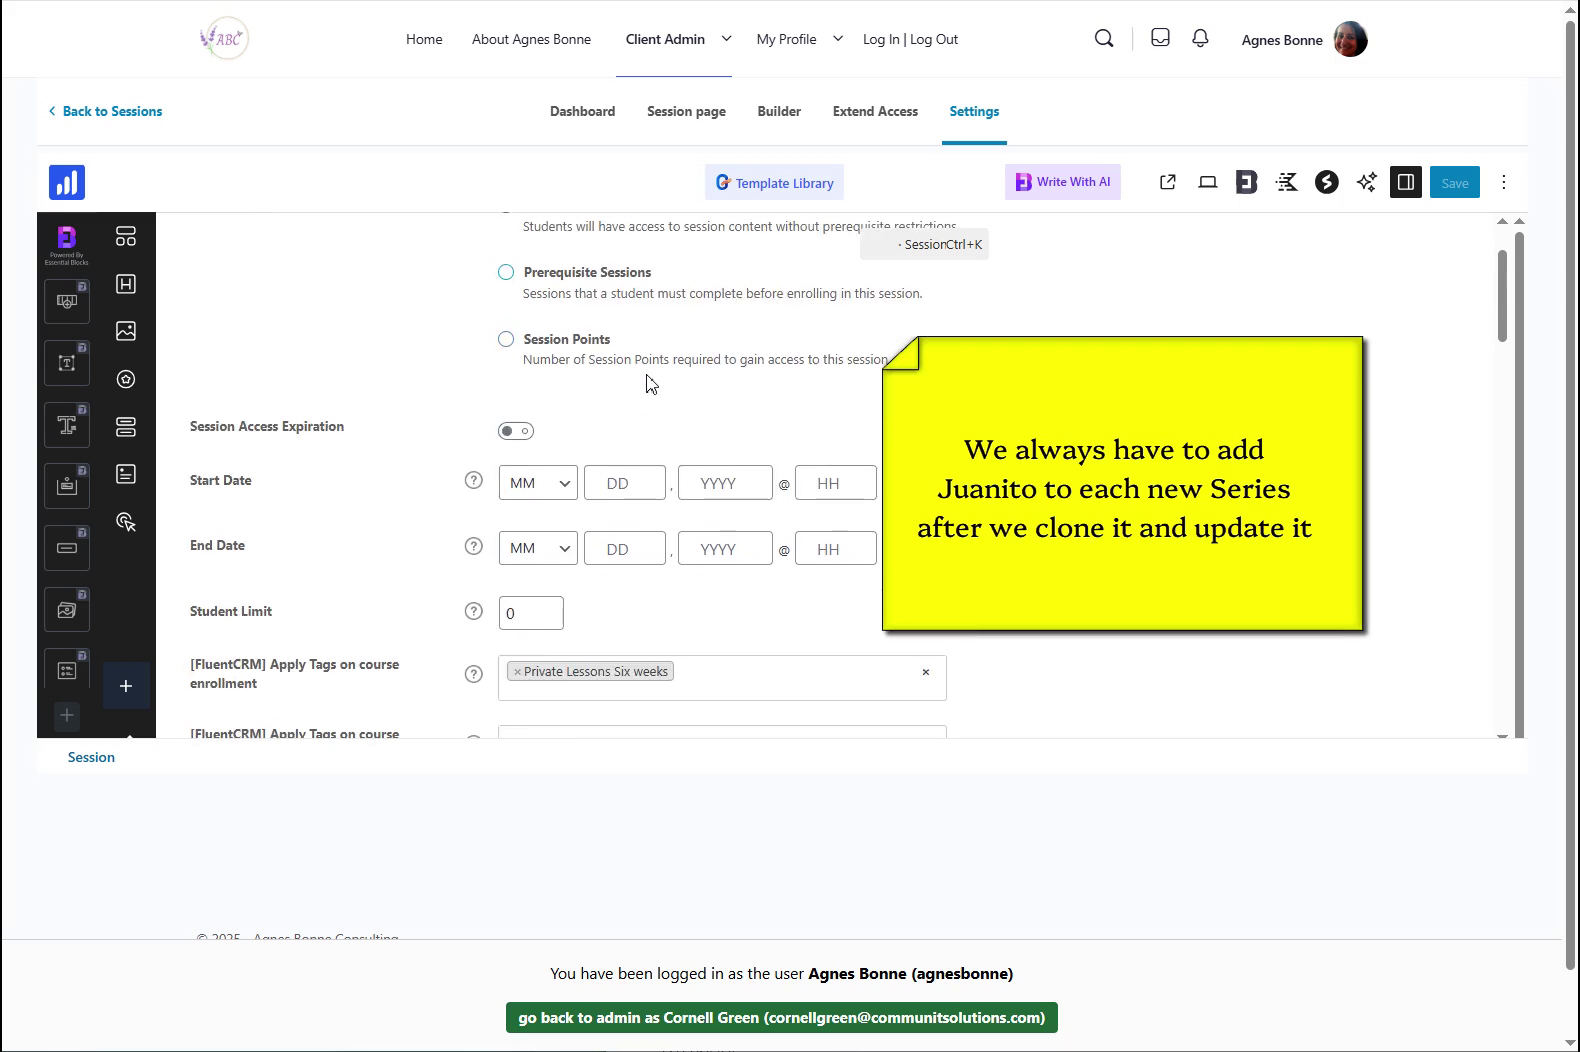
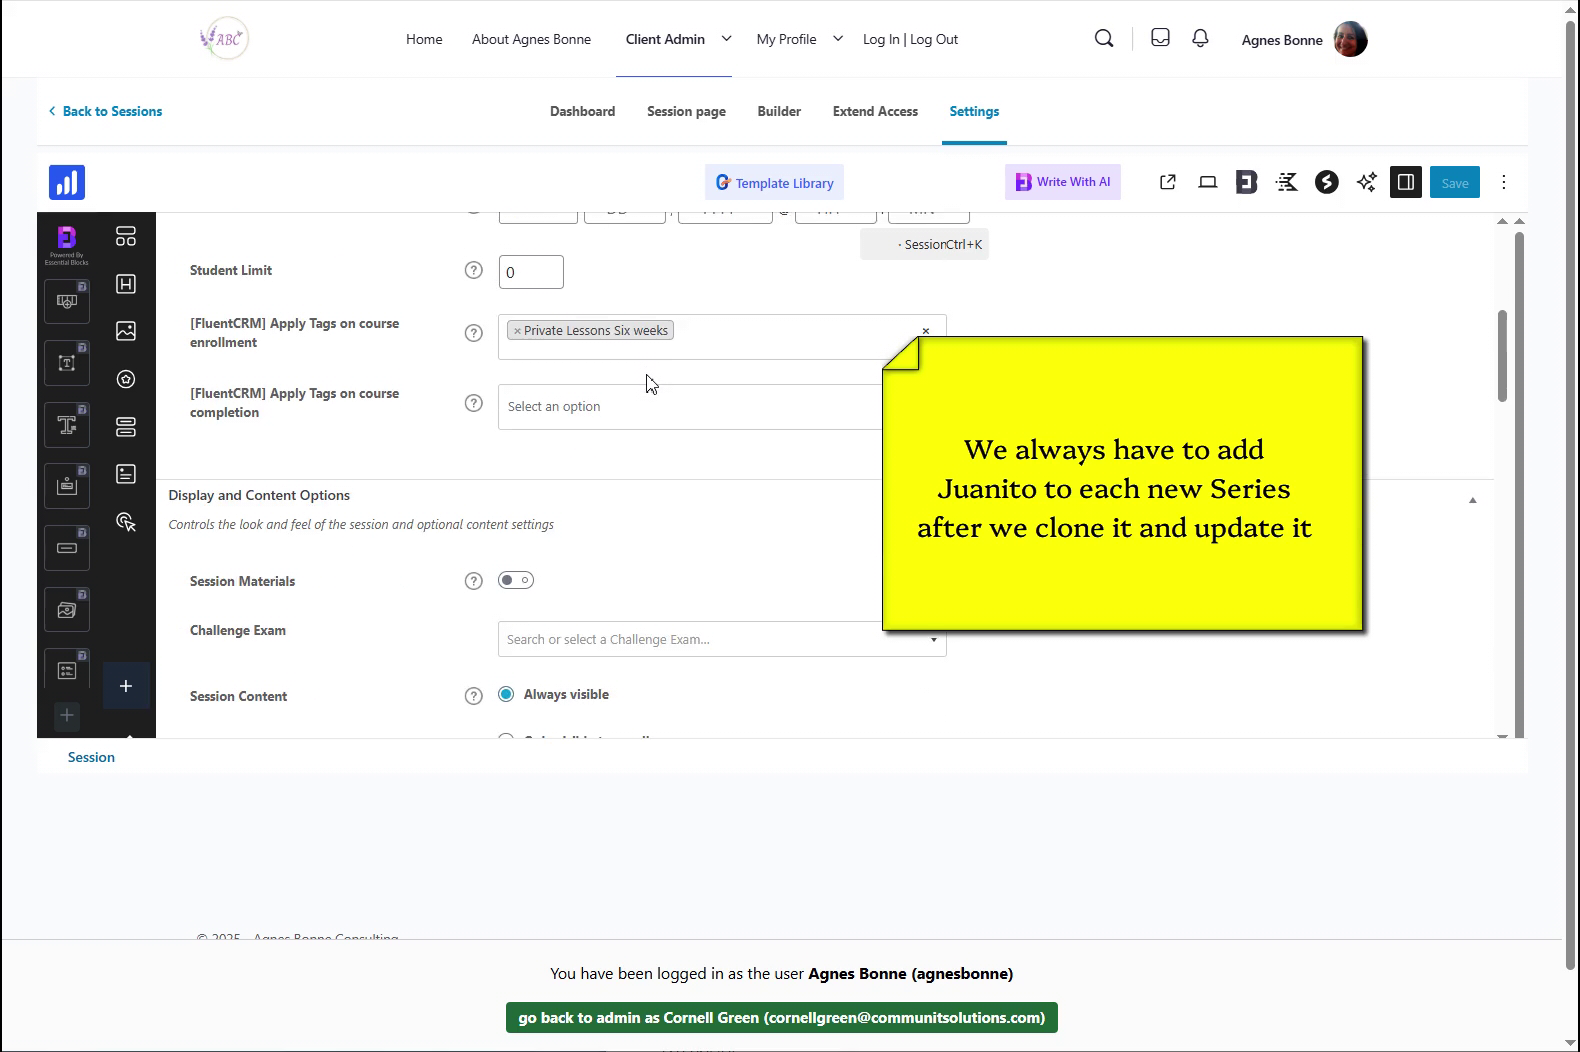
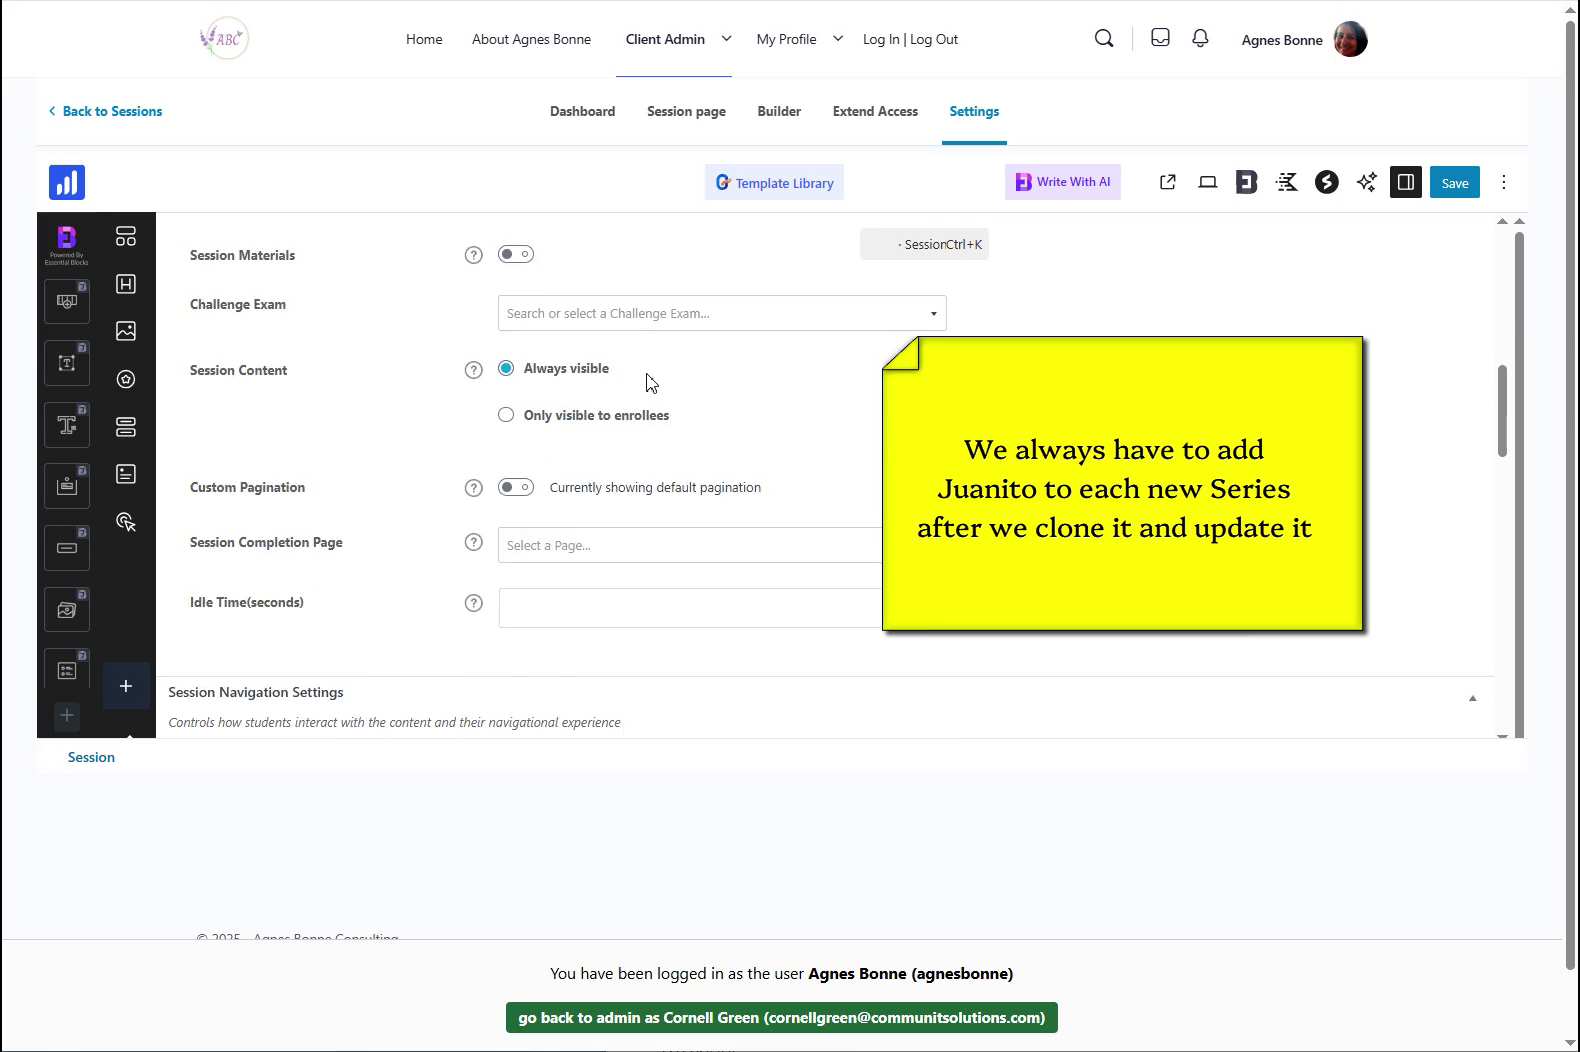
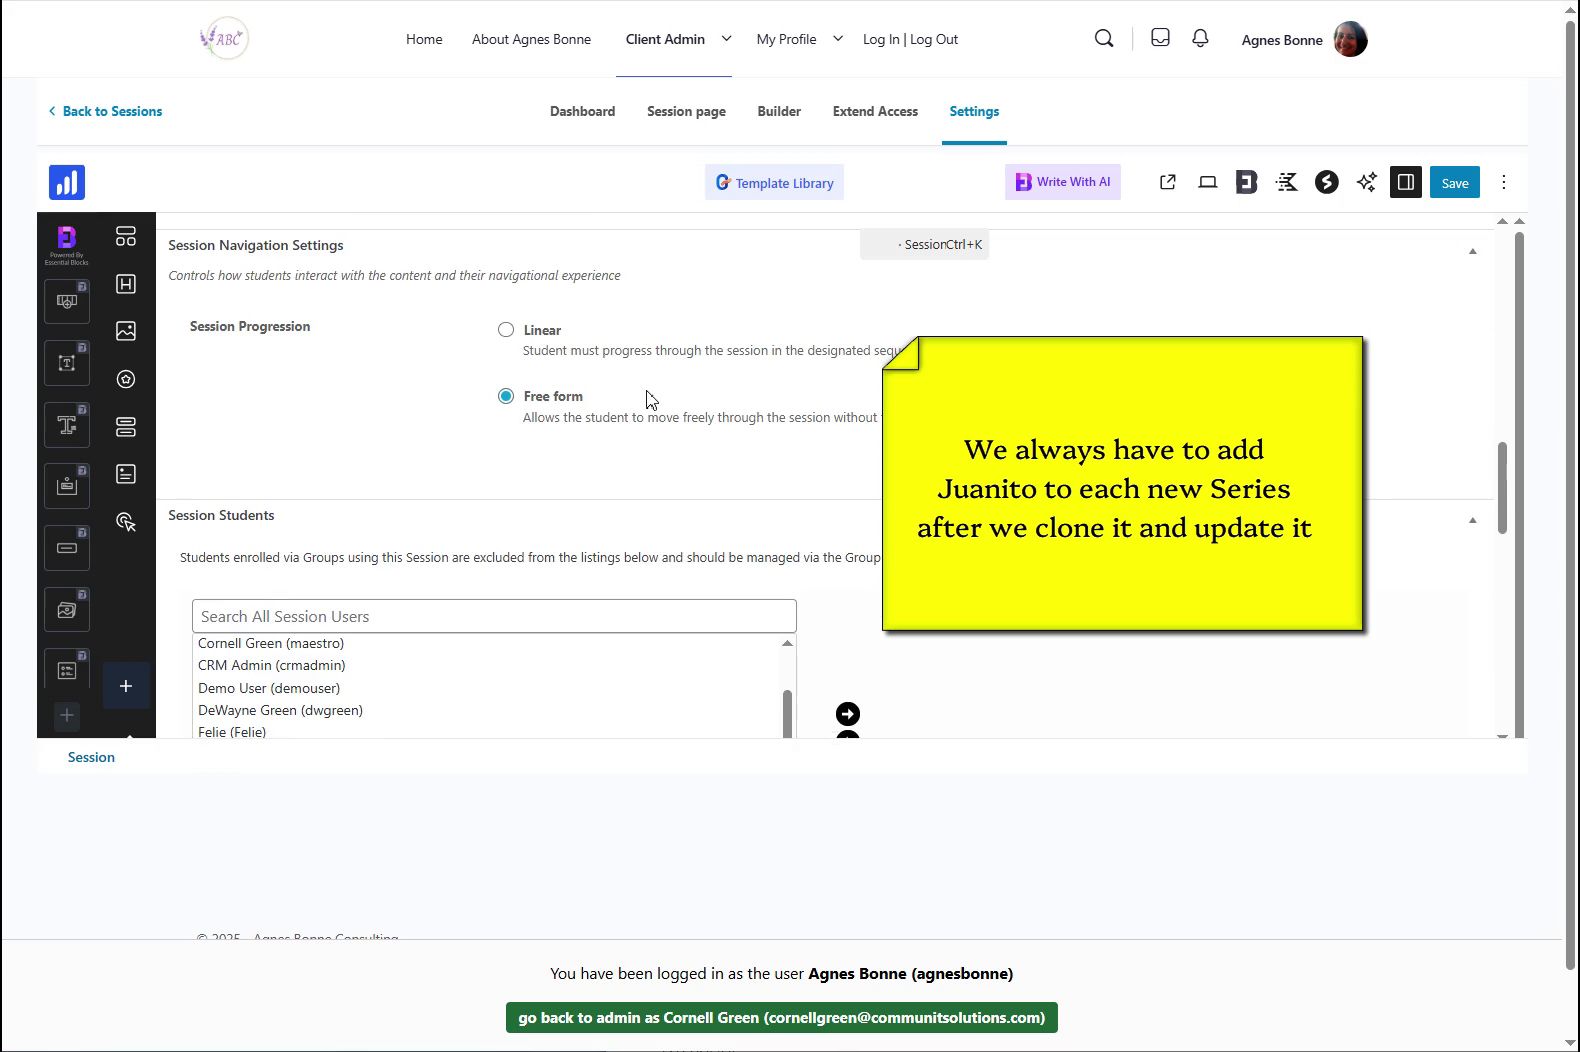
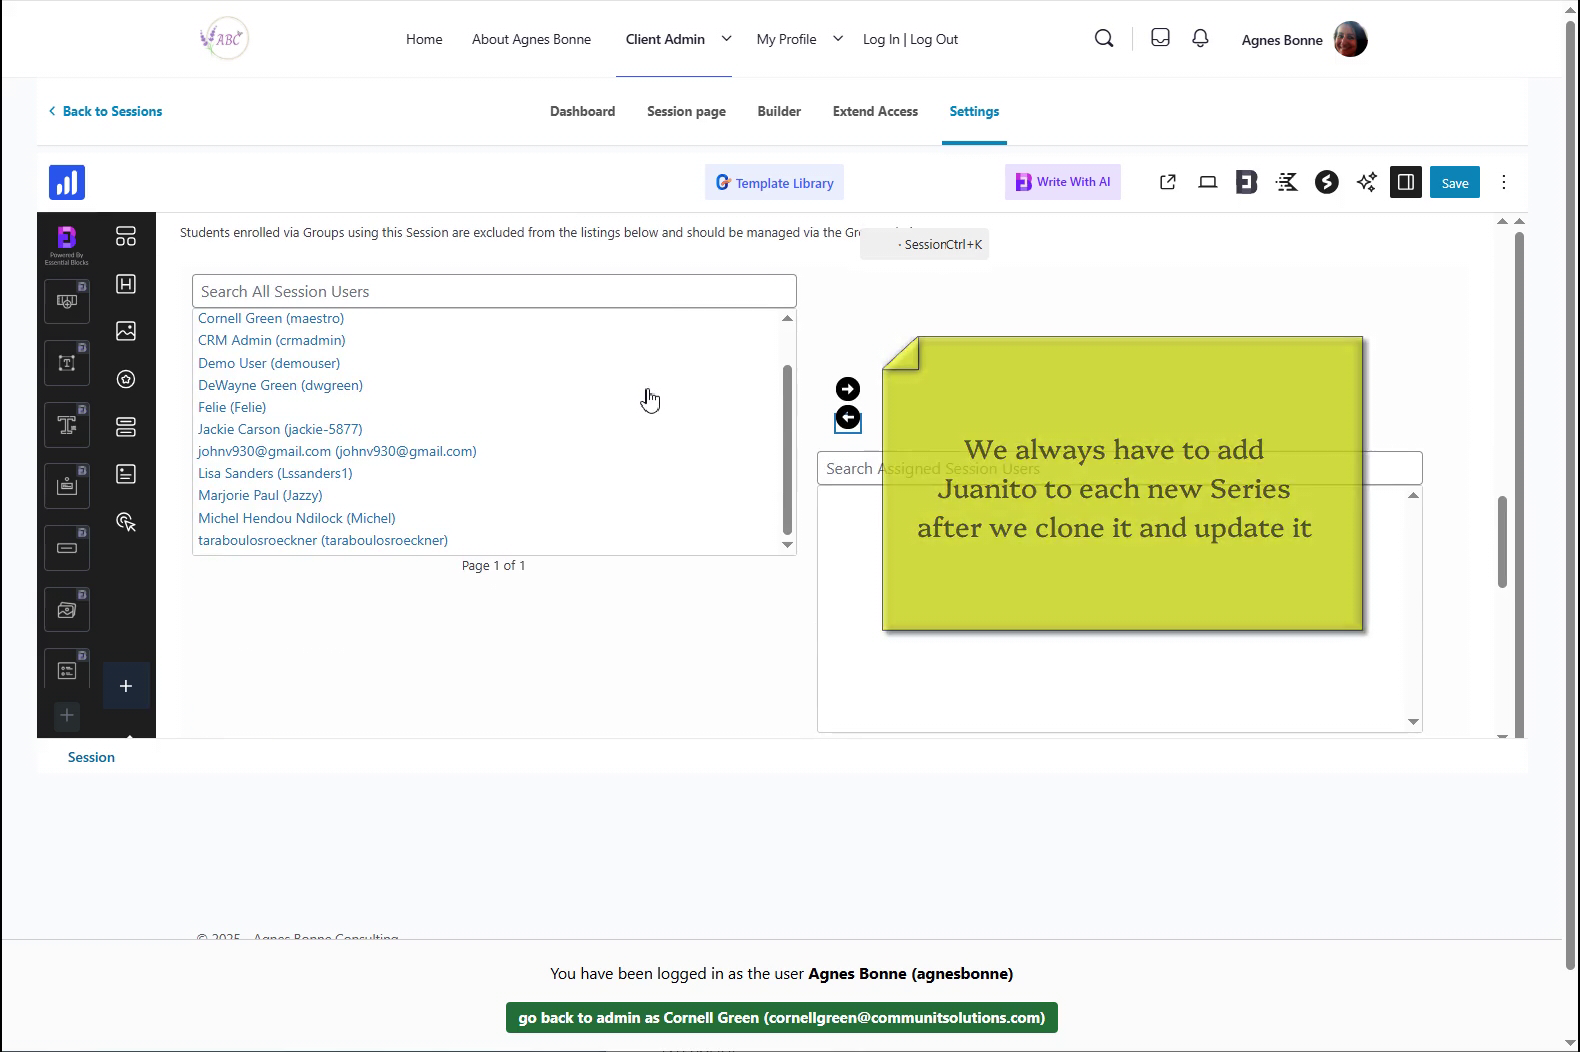
And finally, one more very important thing before you’re through
Please note:
This action will also remove this member from your connections and send a report to the site admin.
Please allow a few minutes for this process to complete.


Responses